
I had pretty much given up hope of visiting the Lake District in 2020. Lockdown had been frustrating and since restrictions were eased, finding accommodation in one of the most popular “staycation” destinations in the UK turned out to be almost impossible – almost.
I had planned to return in April, with the aim of completing the Fellranger Fells. YHA accommodation had been booked back in December and I’d planned the walks that would take me to the remaining tops I needed to complete the challenge I’d set myself 5 years ago – to complete both the Wainwright and Fellranger fells, 235 in all.
With the Wainwrights completed in July last year, and a few of the additional Fellrangers already in the bag, I had just 17 tops to visit. That didn’t sound too difficult but the distribution of the remaining tops meant I’d need 6 good walking days to visit them all.
Once again, Hannah came to my rescue in finding accommodation. With all the YHAs booked out and only expensive hotel rooms available, a stay in the Lakes wasn’t looking feasible until Hannah found YMCA Lakeside, where accommodation had just been opened up. It wasn’t in the perfect location but it was good enough, so I quickly booked 5 nights – I was returning to the hills!
As usual, I travelled north the day before my accommodation started and stayed over with Mum. This would be the first time I’d seen her since Christmas. Rob came over and the three of us had a lovely Chinese take-away. They both seemed in good spirits.
Saturday
I set off early-ish from Southport, hoping to miss the worst of the traffic on the M6. I needn’t have worried as the roads were not busy and I arrived at the start point of my first walk (a lay-by at Huck’s Bridge on the A6) at 9.30am.
Most of my walks this week would be in the south-west Lakes but this was an exception, out in the extreme east of the National Park. The recent second edition of Mark Richards’ Fellranger guides added three new fells in the 2016 extension to the national park boundary, and they were my objective today.
I booted up and set off under a clear blue sky, immediately feeling at home and anticipating a great week of walking ahead.
This walk, like many others, begins with a steep climb but I didn’t mind and I was feeling pretty fit, despite not having done any fellwalking in almost a year. Half an hour after leaving the car, I arrived at Ashstead Fell cairn. This excellent viewpoint gave me my first elevated view of the week and my first glimpse of the higher fells, over to the west.
This arm of the walk is less frequently walked than the return and there was a confusion of thin paths. Naturally, I should have consulted the guidebook but the weather was fine and I was feeling relaxed. I headed into woodland when I should have skirted it. As beautiful as it was, it brought me out some way from where I should have been. After some pathless navigation, I was back on track but I’d missed the top at Mabbin Crag.
After my woodland adventure, I resolved to be more cautious but the rest of the route to Whinfell Beacon was easy and I arrived at the stone-built cairn/beacon at 11.30am.
After a short break, I continued, due east, towards the second top of the day and the most easterly fell in the national park- Grayrigg Forest. The route passes by two communication masts, before climbing to the stone-built OS pillar and highest point on the walk, a modest 494m.
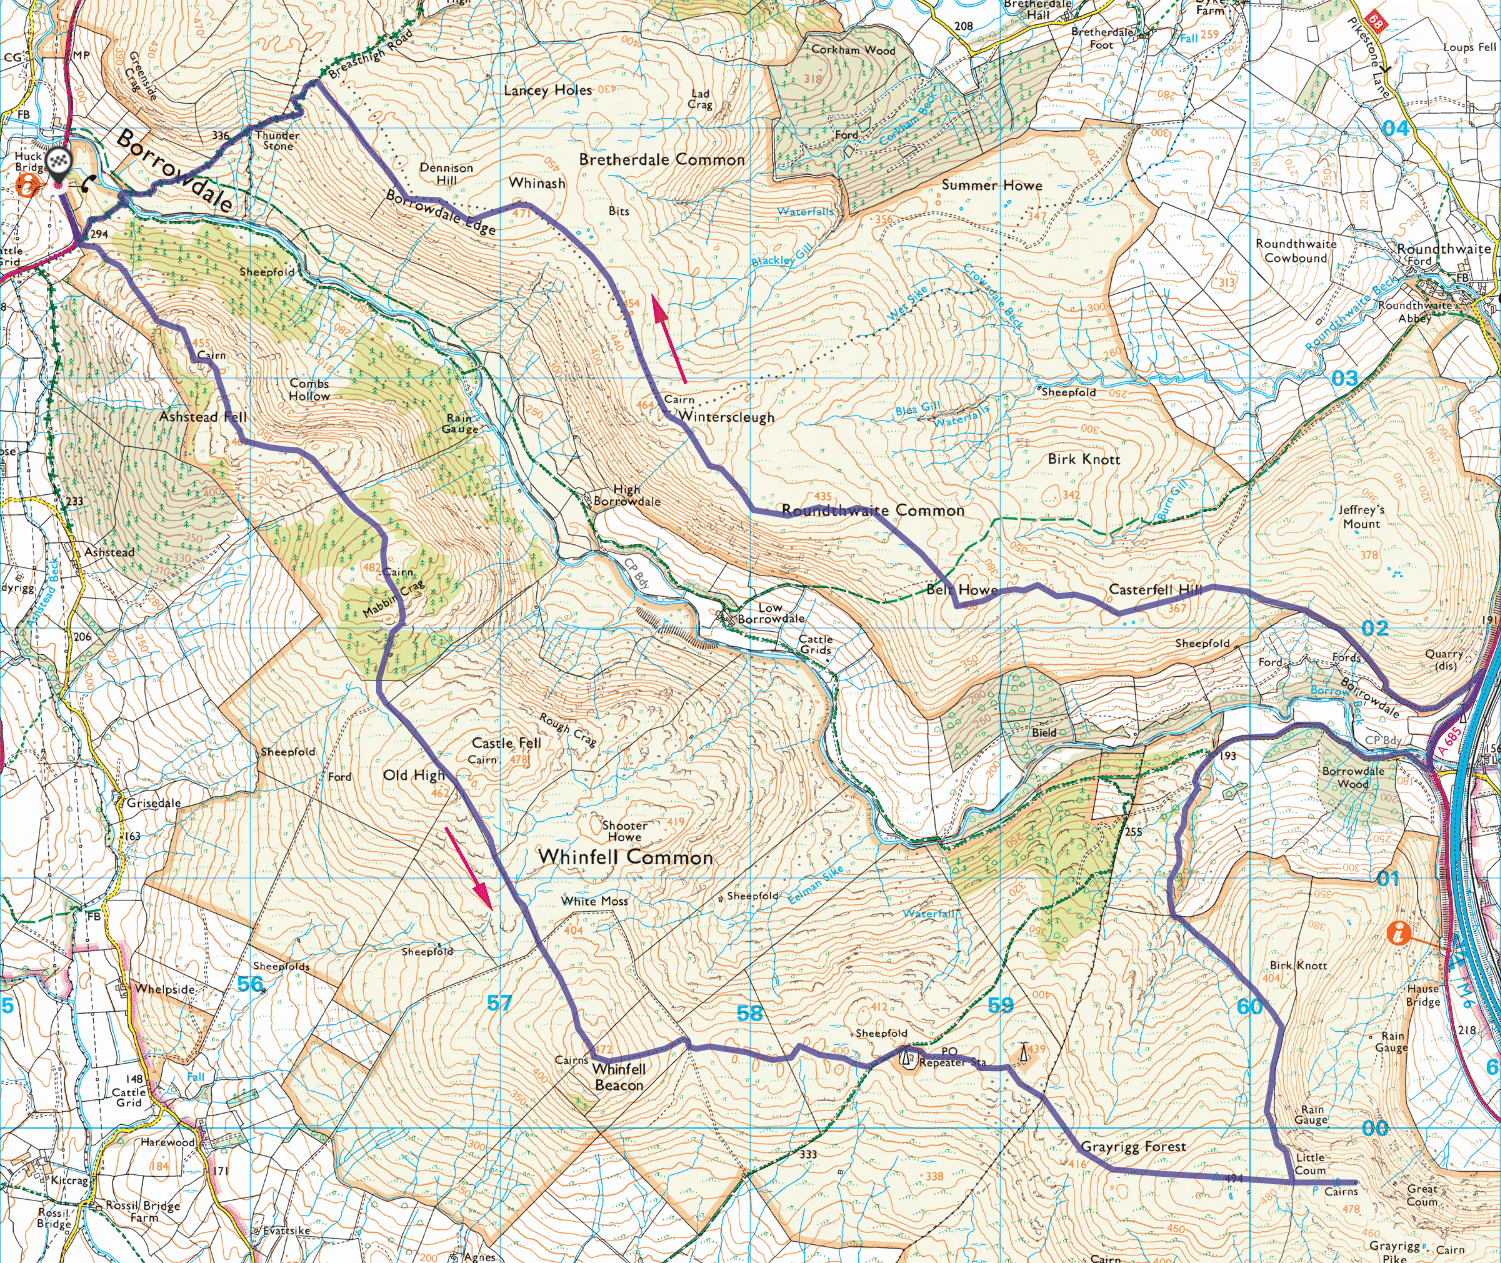
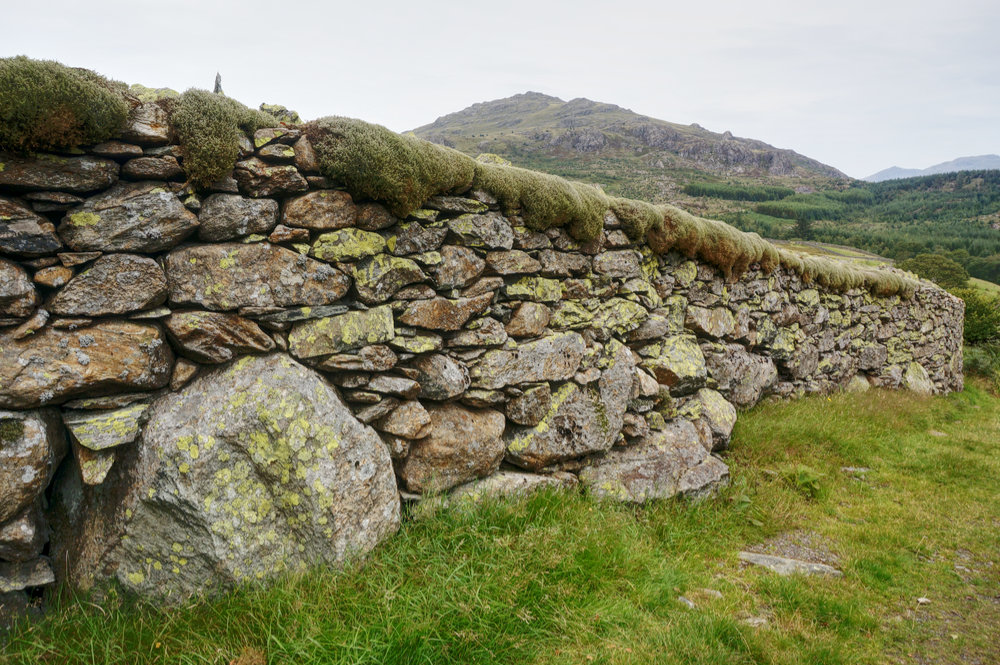
The best views down into the Lune valley and across to the Howgill Fells are not from the summit, but from a more easterly cairned viewpoint, accessed via a gap in a dry stone wall. It’s a rather beautiful spot with a generous cairn and excellent views down onto a snaking M6.
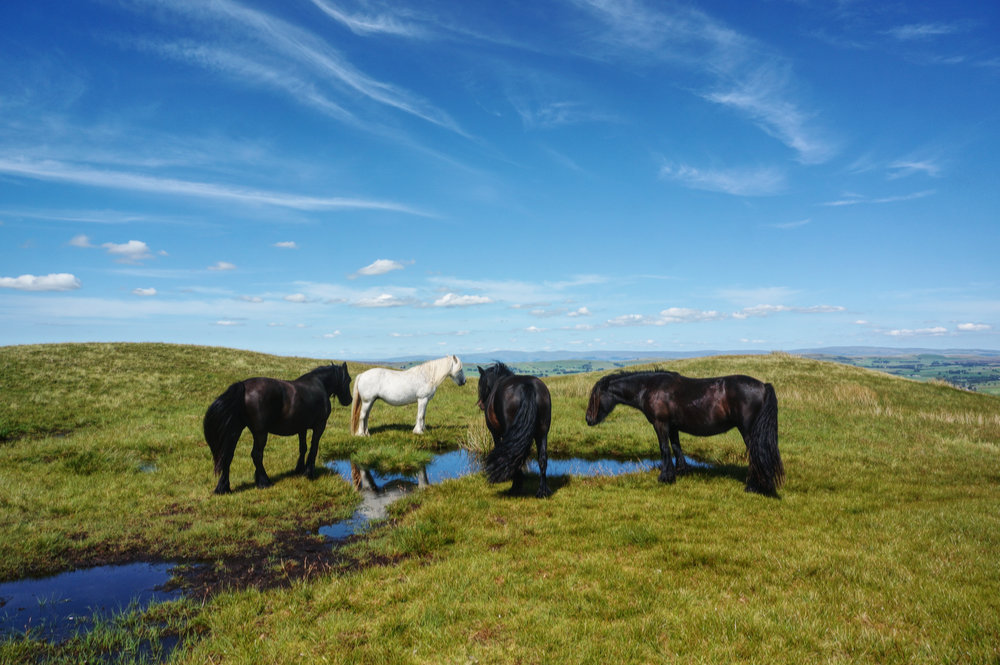
After taking in the views, I back-tracked to the wall, and followed it as it descended towards Borrow Beck. Following the guidebook carefully, I left the wall and headed across open fell, eventually finding the point where several streams converge. It was a calm and secluded place, and the day was getting very warm. I found a little shade by a wall and under a Rowan tree and sat down to lunch.
After a pleasant lunch I continued on the suggested route and eventually found my way onto the valley road, where I turned right. There were a few cars at the small parking area close to the A685 and I realised that, since leaving the car that morning, I hadn’t seen a single soul.

Next up was a short but unpleasant walk along the busy main road to the point where a rising path strikes off left. I was happy to leave the road but the path was initially steep and in the blazing sun, with no shade, I was feeling very hot. Bothered by the heat and confusing the slightly ambiguous directions in the guide, I mistakenly walked through a field of docile bullocks, who were more interested in me than I was in them. Realising my mistake, I had to walk back, trying to disturb them as little as possible.
After finding the correct route, a path of sorts that climbed steadily up to Casterfell Hill, the still air and beating sun became uncomfortable and I began to wonder whether I might be suffering heat stroke. I’d used plenty of sun screen and had just about enough water with me (although, in truth, not enough for the conditions) but I was now feeling pretty feeble. A year without fellwalking and the energy-sapping heat were beginning to tell.
I plodded on towards Belt Howe, telling myself that the sooner I was back at the car, the sooner I would be in shade. Then, as I made the ridge path, just below Belt Howe, a gorgeous, cooling breeze began. That breeze made all the difference in the world. From that point on, I stopped feeling feeble.
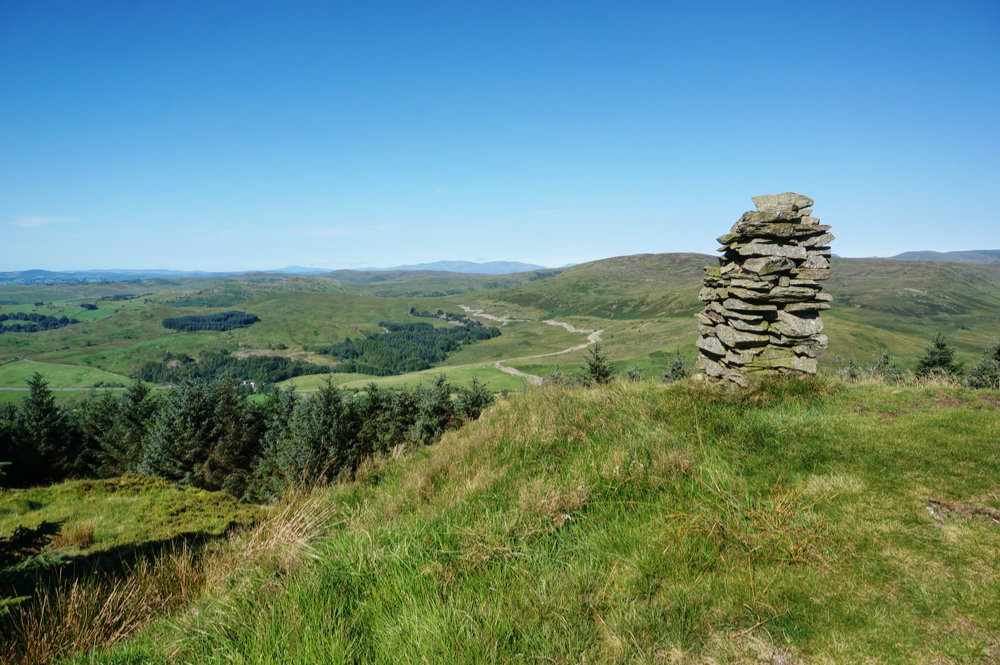
Cooler and rejuvenated, I headed off on the clear ridge path towards the third objective of the day – Winterscleugh. In contrast to the outward walk, the return was more communal. I’d seen no one all morning but there were plenty of walkers out this afternoon, seemingly untroubled by the heat. Even the fell ponies seemed happy to be there on this sunny afternoon.
Winterscleugh was a little underwhelming. There’s a small cairn at the summit and a nice panoramic view to the southern ridge, across the Borrowdale valley, so I could trace this mornings walk but I didn’t feel as though it had been worth the effort of feeling so uncomfortable in the sun. On another day, things would have been different, but now, with the three tops bagged, I wanted to be on my way.
I put my head down and pretty much marched along Borrowdale Edge, only looking up to survey the woodland on the slopes of Ashstead Fell. The views were impressive but I was relieved when I reached Breasthigh Road (a rough track) and the steep descent to the valley bottom.
I arrived, back at the car, at 5pm feeling exhausted. This time last year, I’d have taken a seven and a half hour walk in my stride but I knew from past experience that the first walk of the season is often tough and with so little practice this year, I probably should have saved the longest walk of my week-long campaign for later.
With a job well done, I headed off to find my accommodation. YMCA Lakeside is on the western shore of Lake Windermere in what looked like a fantastic location. I was there in around an hour, giving me plenty of time to check-in and cook my supper.
The staff were very friendly and I couldn’t fault the service I received on my arrival, which is just as well because I’d been double-booked and someone had already moved into my room. Ordinarily, this would have been an annoyance but I was feeling relaxed and I knew this accommodation lark was completely new to them, the centre is usually only available to school parties.
Naturally, they were very apologetic and set about making up a bed for me in one of the lodges. I’d have an entire lodge to myself, including a kitchen!
Once installed, I reheated the leftovers from last night’s Chinese meal, which tasted as good as it had the evening before and then sat out on the lake shore, checking tomorrow’s forecast as the light faded.
Sunday
The weather at the start of the week was looking mostly fine but becoming mixed as the week wore on – or at least that’s what the forecast was saying, so I determined to pack in as many of the 17 as I could in the first half of the week.
Despite my exertions the previous day, I was feeling surprisingly good on Sunday morning after a good sleep, so I rose early and, after a quick breakfast, headed west to take on the Ulpha fells. With luck, I’d bag 5 fells today, making a sizeable dent in my objective in only two days.
The Ulpha Fells are all relatively close together but, try as I might, I hadn’t found an easy way to combine them into a single, circular walk, so the plan was to complete a there-and-back walk for the first four and then drive to a different start point for the fifth. Not an ideal day, but needs must and, in fact, this set a pattern for the week to come.
Turning off the A595 at Duddon Bridge, the first thing I saw was a large black on yellow sign that said “road ahead closed”. My heart sank and I thought my perfect plans had been dashed. I decided to keep going and a little further on more signs telling me that there was a road closure four miles ahead. I didn’t know how far I was from the start point so I just kept driving. Eventually, I got close enough that I knew I could walk but even then there was no sigh of cones or barriers.
I arrived at the summit of the fell road shortly after 9am and parked up. There was just one other vehicle and all seemed very quiet. The weather was good but cooler than yesterday and I was looking forward to my Sunday stroll.

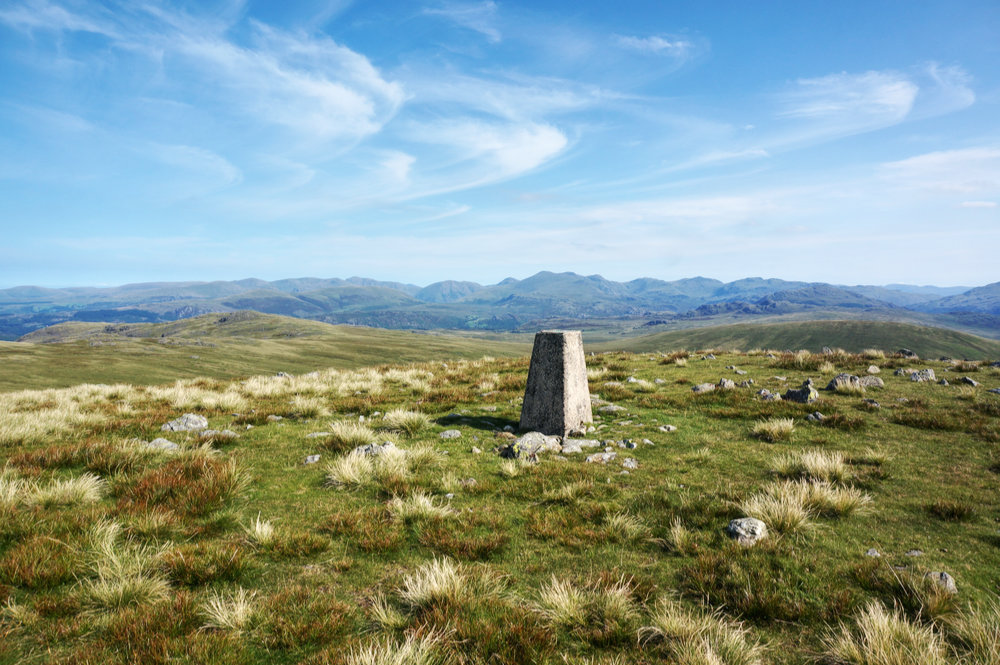
First stop was Buck Barrow (OS Map/Wainwright) or Buckbarrow (Fellranger), depending on your point of view. My own preference is for “Buck Barrow” so as to differentiate it from the Western Fells Buckbarrow at Greendale. Anyway, the fell turned out to be a delight, and only a short-ish walk from the car. It has a satisfyingly rocky summit with some lovely views over to the higher fells and across to the Cumbrian coastal plain and the sea. Had I not been on a mission, I’d have certainly spent more time there.
Next stop was Whitfell, which is a straightforward sweep of a walk from Buck Barrow across convex, grassy fell. By now there were a few other walkers about and it became clear that Whitfell is a popular target for Sunday constitutionals. Rise early, Whitfell and pub lunch. It sounded appealing but I had hills to bag.
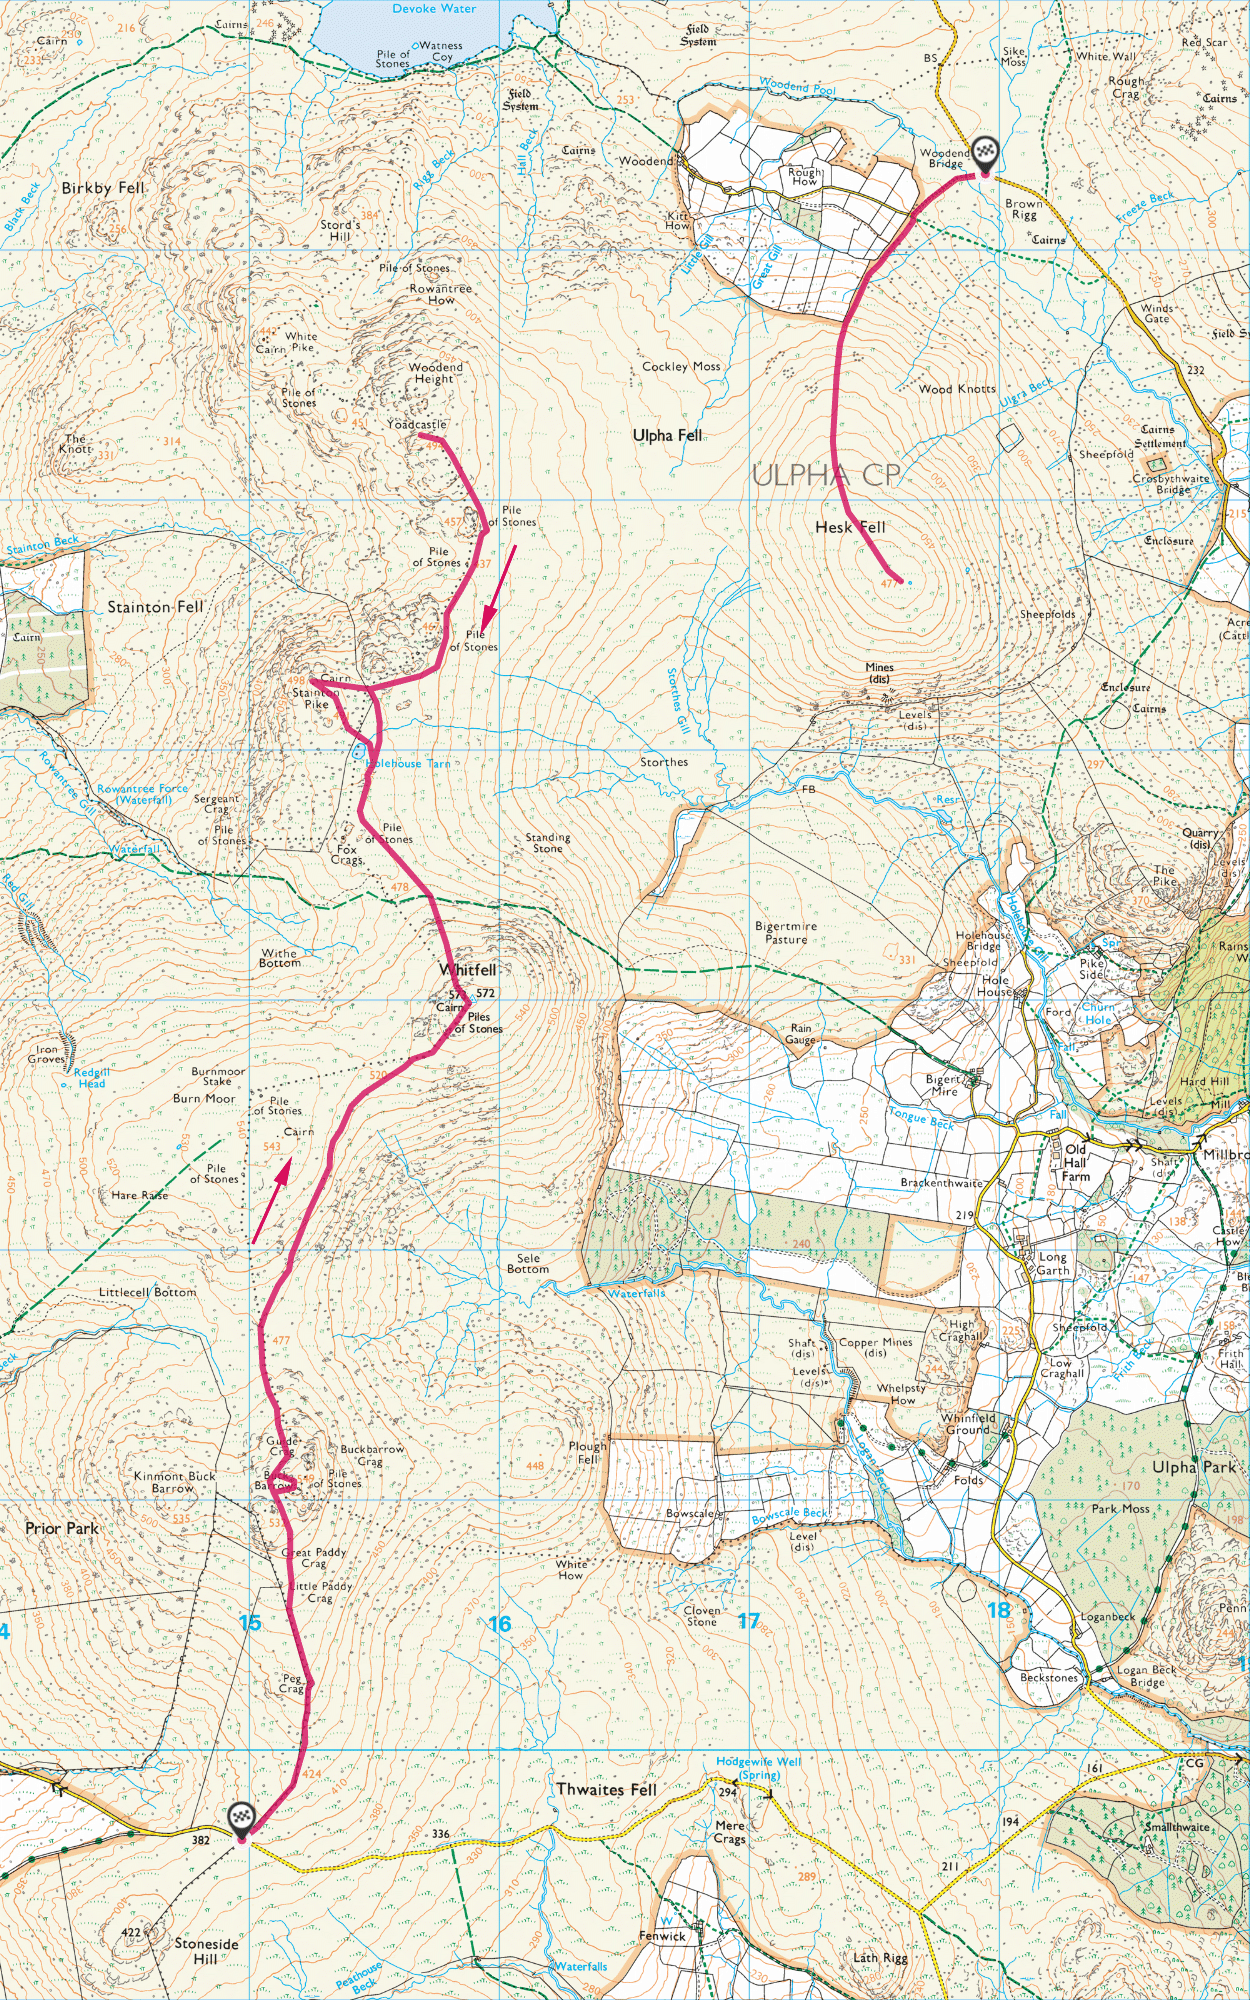
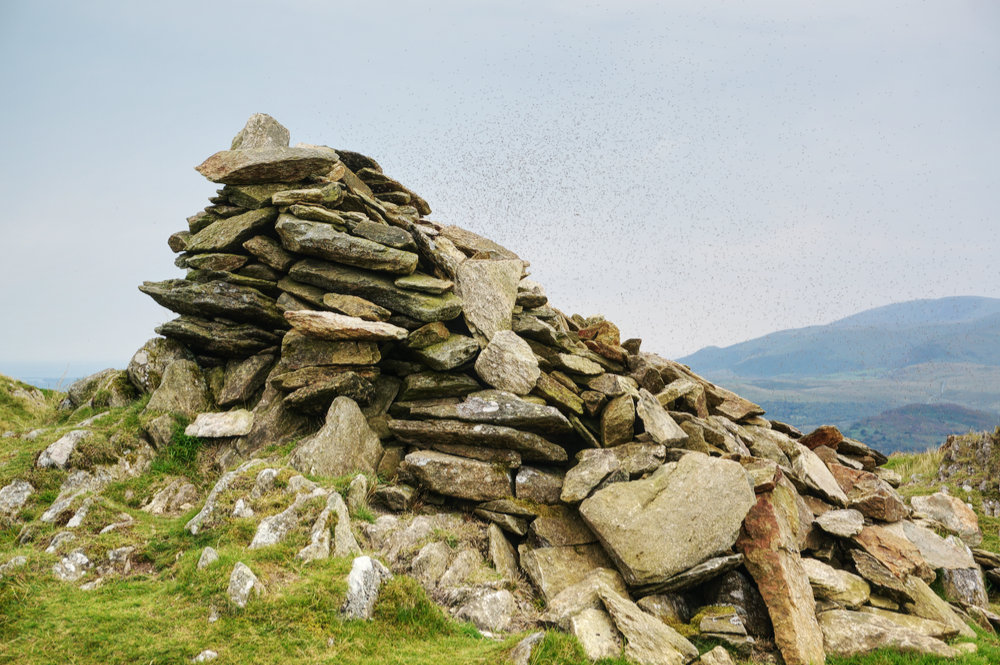
The summit at Whitfell is mainly grassy but with an enormous cairn, built from a huge pile of stones, apparently an ancient tumulus. Again, the views over to the higher fells are excellent and there is even an OS trig pillar. In fact, almost everything you might want in a summit.
While other walkers turned back towards the fell road, presumably in search of a pub lunch, I pressed on and, having dropped down from Whitfell summit, was immediately alone. I continued north, in search of Stainton Pike.

So far, on this walk, there had been an easy, clear path but as I neared Holehouse Tarn, and left the main ridge path, there was no path to follow. Not a real problem because I could see Stainton Pike ahead and I knew I was headed to the northern end of the tarn and then over a fence.
All the guides suggest that crossing the fence is no big deal. In the Outlying Fells, Wainwright instructs, “Cross the fence in the vicinity of Holehouse Tarn (easier now that the barbed wire has gone), and cut across to the top of Stainton Pike…”. I assumed that there must be a stile or that, like many fences on Lakeland fells, it would now be decrepit and easily crossed. This fence bucked the trend. It had recently been restored and sported a taught, sharp barbed wire top at the height of my midriff. I looked to the right and to the left. There was no stile in sight.
I walked up and down the fence line looking for a place where there might be a mound I could stand on to make the crossing easier, but there wasn’t one. I was stumped but realised that, one way or another, I was going to have to cross the fence to reach Stainton Pike summit. Then I remembered a trick I’d read about for crossing barbed wire fences.
I opened my bag and pulled out my fleece. I’d had no use for it so far on this visit but it was just about to come into it’s own. I wrapped it round a short section of the wire in a tight roll and then, holding it down as far as I could, I just managed to straddle the fence on tip-toes and make it over without snagging my trousers on the barbs.
Once over the fence, the summit is just a short climb away, and what a summit it is! Mark Richards recommends that you, “…take time to linger and enjoy your visit”. The top is reached by an easy rock scramble and is marked by a shapely cairn of satisfying size, but it is the view that makes this a place to pause. From west to east, the view begins with the sea, crosses the coastal plain. Next, the distant Western Fells, the foreground of Yoadcastle and then the high fells, including the Scafells. All the while feeling that one is perched atop an elevated promontory as the ground to the north drops away quickly.

Of the two hundred-odd fells I’ve summited over the last five years, there have been perhaps 9 or 10 that I’ve not wanted to leave. Stainton Pike is on that list, along with Great End, Green Gable, Kidsty Pike and a few others. This is entirely subjective, of course, but the best fell-tops afford panoramic views and make you feel like you are on top of the world.
It wasn’t even midday yet but I took an extended break anyway and sat, gazing at the scene and snacking on muesli bars.
Eventually, I tore myself away and headed off around the head of Stainton Beck to Yoadcastle. I had to cross the fence again but the faint path down from the summit took me to a point where someone had placed a large stone next to it, making the crossing much easier.
Yoadcastle is another rocky knoll on the north-south ridge and although it’s another lovely summit, it just doesn’t have the drama of Stainton Pike. Nonetheless, I stayed a while; this was as far as I was going on this walk and the next section involved a return to Whitfell, skirting Stainton Pike and avoiding the barbed wire fence.
Before setting off, I looked across to Hesk Fell and wondered if it might be possible to walk across the trackless, damp moorland to its summit and then return to some point on this route but I couldn’t see any obvious way of doing it. Sometimes, on the ground a route becomes clear that isn’t obvious on the map, but in this case, I decided to stick to the original plan.

I got back to Whitfell just before two in the afternoon, with no one around. After a brief pause, I headed back towards Buck Barrow. I was enjoying myself and as often happens when I relax, I became complacent and lost my intended route, ending up on the wrong side of a dry stone wall, losing me about 15 minutes while I back-tracked over rough ground. Eventually, I arrived back at the car in good time to take on Hesk Fell.
After a change of footwear, I drove down into Ulpha and then up onto the Birker Fell road. Turning off at Woodend, I looked for the parking place at Woodend Bridge, mentioned in the Fellranger guide, but couldn’t see anything other than a narrow strip of verge. It was good enough, so I parked up and changed back into my boots.
I followed the road, turning off at the farm gate to ascend the steep fell. It was four thirty on a warm, calm afternoon and the exertions of the previous day and my “Sunday stroll” were beginning to tell. I began to feel pretty weary as I trudged up the fell side.
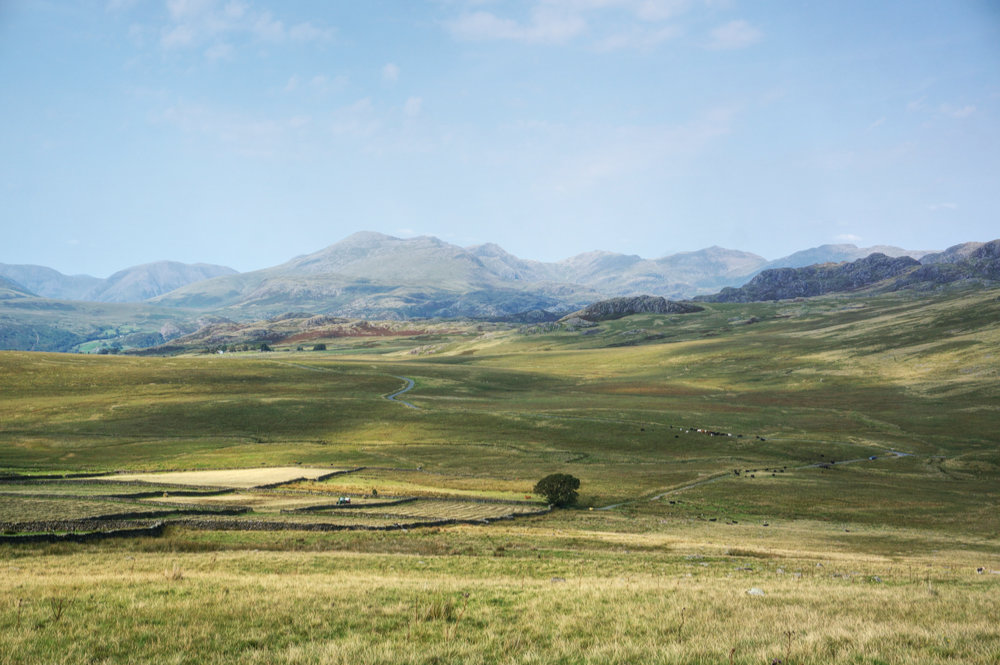
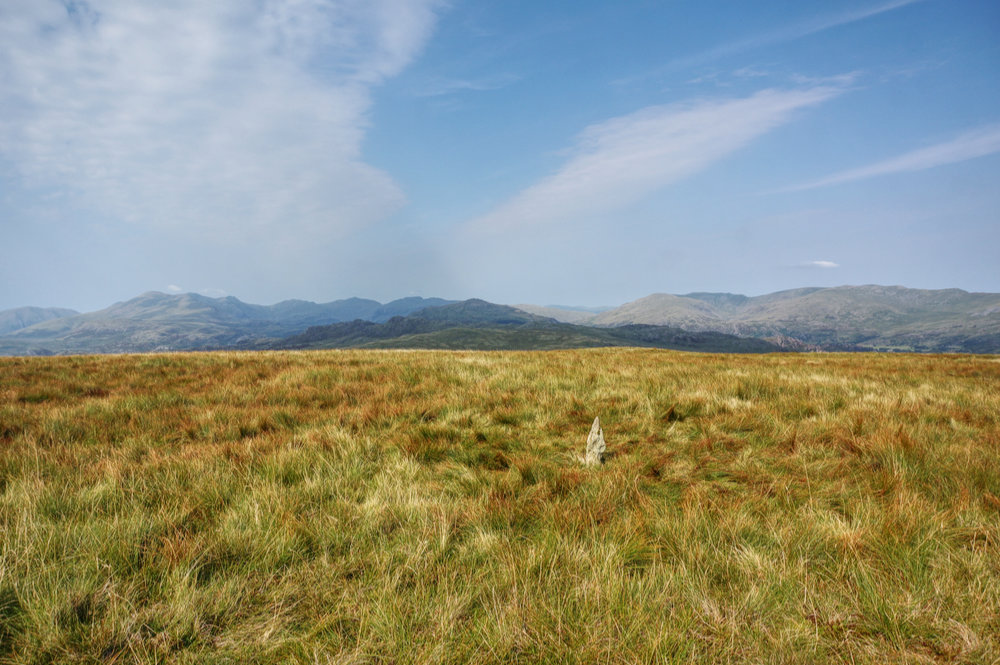
After what seemed like an age, tramping over pathless, rough grass on tired legs, I came to the ridge and a thin path to the summit, if you can call a single stone in a field of grass a “summit”. On the one hand, I was mightily glad to have completed my day’s objective but on the other, this was rather an anti-climax.
I looked across to the ridge I’d walked earlier in the day and named all the tops. It was only 5pm and there was plenty of daylight left. I considered taking in Great Worm Crag before the end of the day but decided that I was too tired and that I’d have to return to Woodend Bridge tomorrow morning.
During the afternoon, I’d found a message on my phone from the YMCA. A room had become available and they’d moved all my stuff out of the lodge and into the accommodation block. I felt a little disappointed but the new room was good with en-suite shower and a view of the lake. The only problem was that there would be no cooking facilities. There was a microwave but it was in the common room, which had been closed in order to maintain social distancing. This was going to be a week of picnic suppers!
Monday
After a good night’s sleep in my new room, I had a makeshift breakfast and set off, back to Woodend Bridge, arriving exactly where I had left off the previous day.
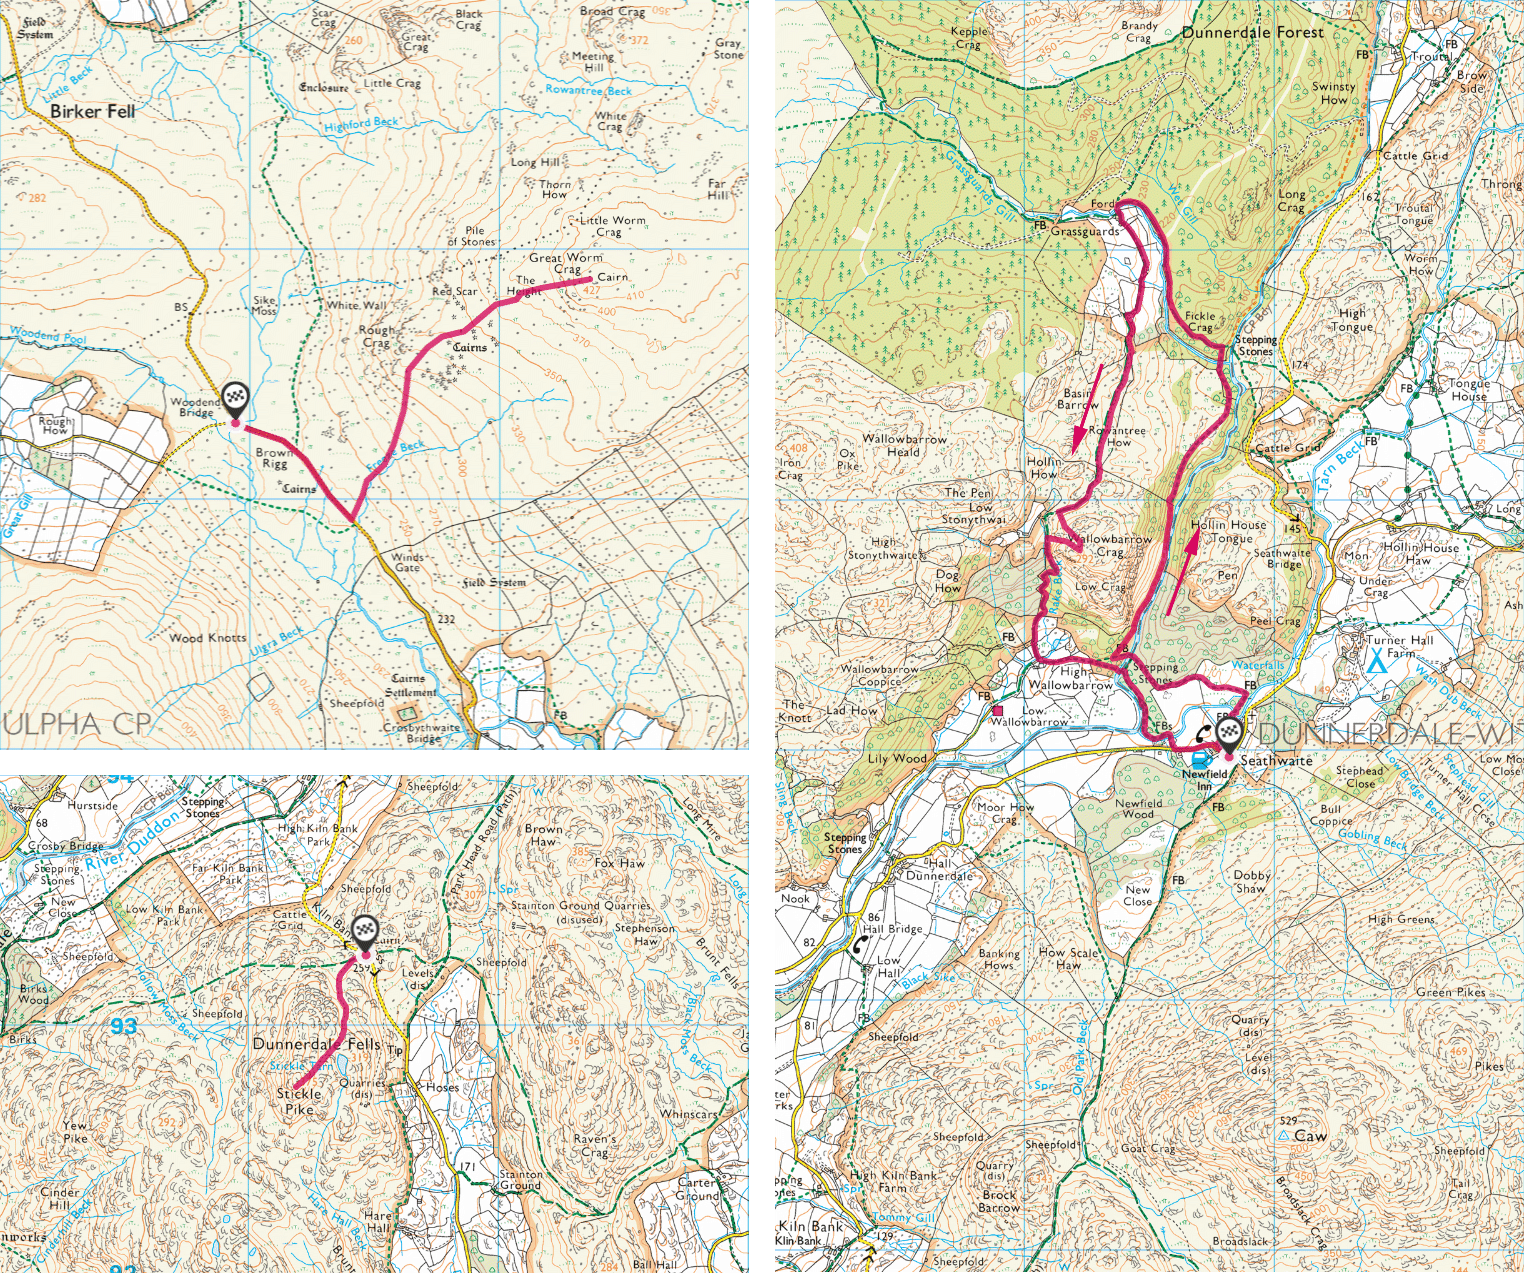
The morning was bright but high cloud gave the landscape a diffuse and hazy light, with everything looking a bit dimmer than it had looked on previous days. I left the car and walked in the direction I’d just come, back along the Birker Fell road, looking for a path at Freeze Beck.
I didn’t see an obvious path but there was a likely looking quad bike track that looked to be going in the right direction, so I took it. After about 15 minutes, it became clear that I was on the wrong side of Freeze Beck and headed too far south, so I crossed the beck and headed towards where I thought the path must be, if indeed it actually existed.
I’d begun to realise that some of the less popular fells (i.e. those that are not Wainwrights) are infrequently visited and that paths to the summits are either very sketchy or non-existent. This was the third day in a row that I’d found myself having to negotiate a pathless, rough moor.
It wasn’t until I’d advanced two thirds of the way to the summit that I found what appeared to be a path leading to the summit. It was thin but it was a path and it was headed in the right direction.

I arrived at the summit at twenty past ten. The sky still had it’s canopy of high cloud but the air was relatively clear and there were good views all around. To the south-west, I could see across to Hesk Fell, where I’d been the previous afternoon and beyond that to the ridge of the other Ulpha fells. To the north-west, I could see Green Crag, backed by Harter fell, both of which I’d visited at the end of August 2018.
I had toyed with the idea of making a return visit to Green Crag on this walk but it was becoming clear that I’d have my work cut out just bagging the tops I needed. So, after a short, contemplative break, I headed back the way I’d come. This time, following the sketchy path all the way back to the road and annoyingly finding that I’d just missed the start of the path on my outward route. It wasn’t obvious, so I forgave myself.

Next stop was Seathwaite. I drove back to Ulpha and then up the valley road. I was headed for Wallowbarrow Crag. On arrival at Seathwaite, I parked up on the road, not realising that there was a perfectly good car park at the church.
I took the footpath opposite the Newfield Inn, intending a quick out and back so as to give me the best chance of taking in Stickle Pike and Caw, later in the day, but the sky had cleared to blue and the sun was bright and warm, so I decided to make the most of this walk and complete a circuit via Wallowbarrow Gorge. I’m so glad I did.
There have been times over the last few years when I’ve missed out on some of the more enjoyable routes in order to optimise my fell bagging and there are plenty of fells I want to revisit at a more leisurely pace. On this occasion, I decided to cut myself some slack.
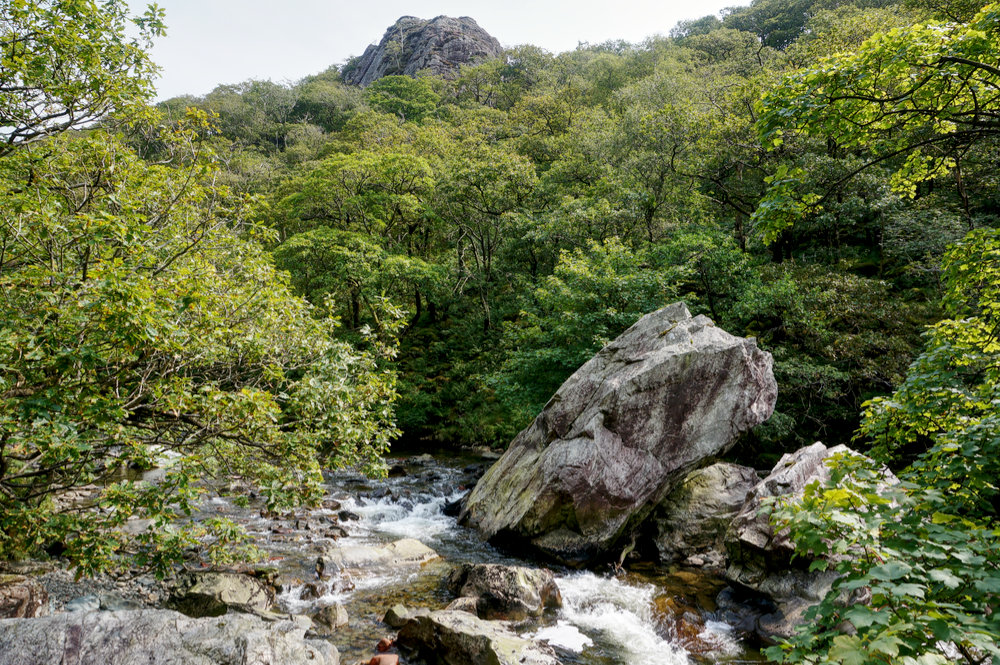
Wallowbarrow Gorge is spectacular. It has all the ingredients of a good walk; crashing water, boulders to negotiate, a rising and falling path, and dappled shade from twisted and gnarly oaks. By now the sky was clear blue. The water foamed and sparkled and the dappled shade danced – it was like being on holiday!
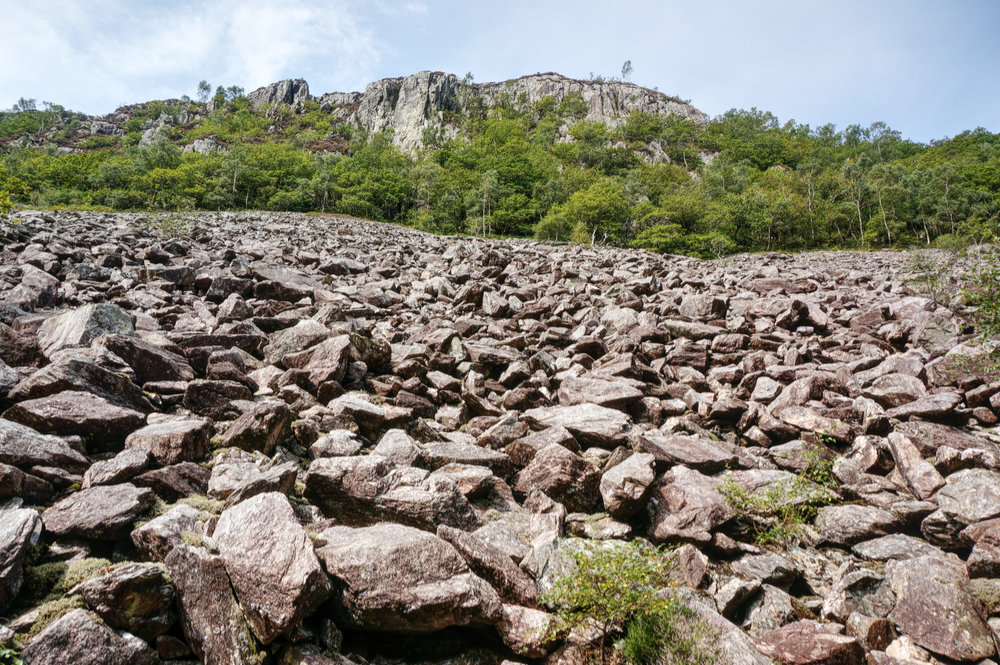
The path along the gorge continues for about 1.5km, not a long way but the narrow path weaves around tree roots and fallen boulders, making the going very slow. But that’s part of the charm and excitement of this walk. In his Fellranger guide to the Southern Fells, Mark Richards directs, “Progres [sic] through a fantasy world of rock and native woodland over styles. The boulder scree spilling from the high crag is particularly impressive.” The boulder scree is, indeed, impressive and this part of the walk is the best reason to visit Wallowbarrow Crag.
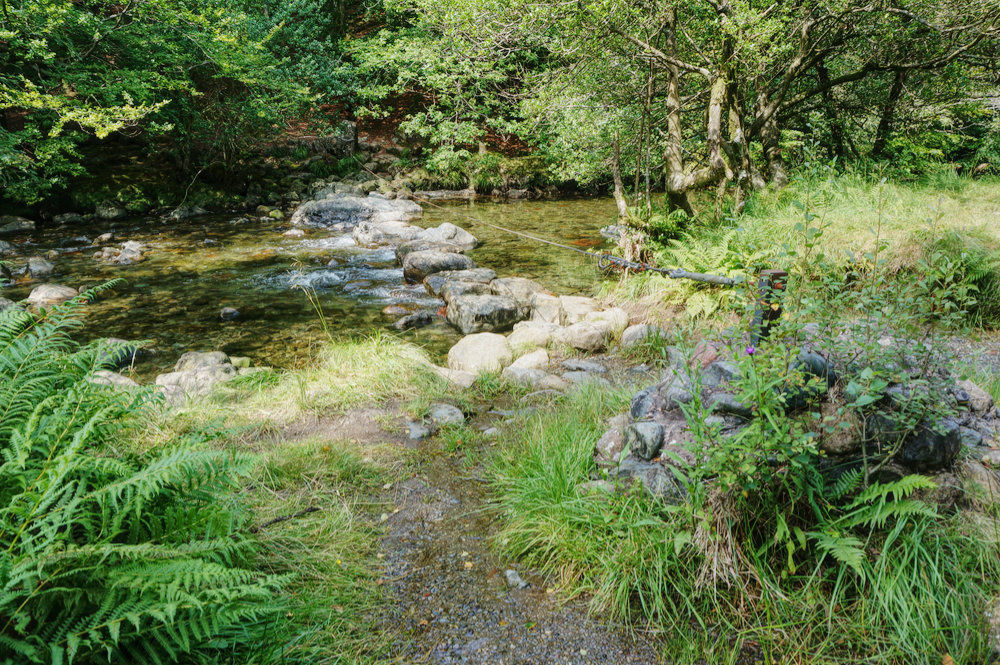
At the head of the Gorge, the path breaks left into Dunnerdale Forest. The path becomes less obvious but is still easy to follow. After crossing the footbridge at Grassguards, the route mounts the gently rising ridge along a clear and wide bridleway, passing long-abandoned farm buildings before crossing open moor.
The bridleway skirts around the base of the summit and, once again I found myself wading through damp, heathery ground to reach the final easy scramble to the rocky outcrop at the summit.
It was almost 2pm and there was now a light cloud across the sky. I was feeling pretty tired (again), so I sat and had a slow lunch, looking out over the Duddon Valley.
I was still hoping to bag Stickle Pike and Caw before the end of the day and there was plenty of daylight in which to do them both but I was doubtful I had the energy. The lack of practice earlier in the season was certainly having an impact on my progress.
After lunch, I walked the short downhill route back into Seathwaite and after a rather annoying detour I’d had to make to avoid a closed footbridge, I could have happily driven back to YMCA Lakeside.
Making no promises to myself, I drove up to the road summit at Kiln Bank Cross, the start point for my twin objectives in the Dunnerdale Fells, deciding I would just make this a recce. It was four o’clock when I arrived and, despite the fatigue, it seemed silly to waste a couple of hours of fine weather. So I took on Stickle Pike, a very short but steep climb from the road.
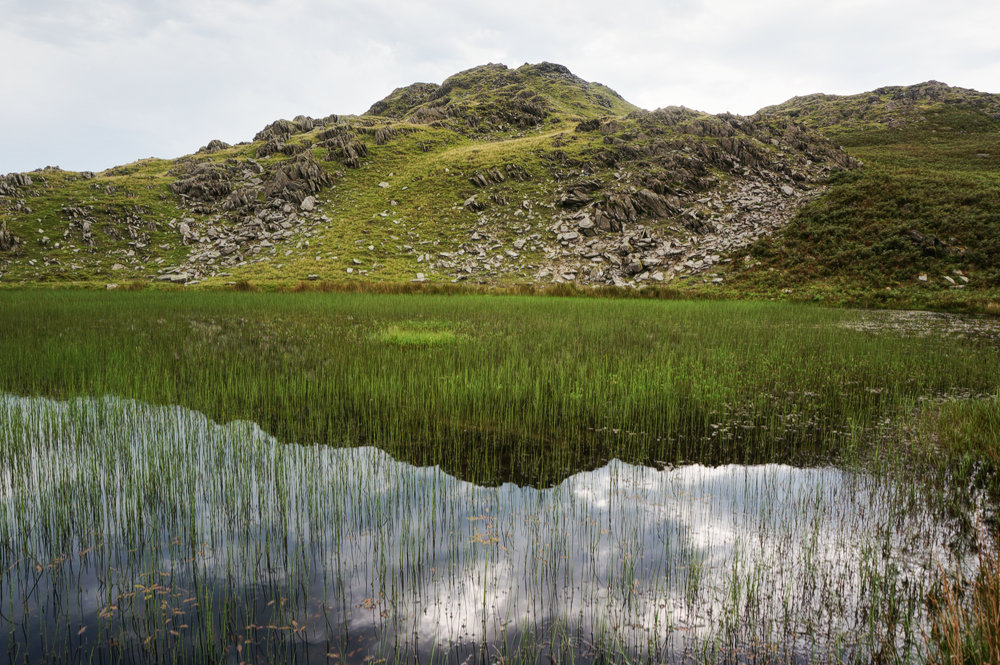
A clear path leads to Stickle Tarn, an attractive body of water, whose still surface reflected the view up to the summit cairn. I explored the water’s edge before starting the steep climb over loose scree.
The top affords excellent views all around. To the north-east, Caw looked almost Alpine, backed by the Coniston fells. To the south was the Duddon estuary and the sea. South-east, over the Ulpha fells, I could see Black Combe, an objective for another day.
I would have loved to have spent some time at the summit, contemplating the scene but around the cairn, swarmed a cloud of flying insects that were immediately attracted to me as I approached. They looked like small flying ants but behaved like a cloud of midges. All I could do was get close enough to take my customary summit photos and then beat a hasty retreat. I’d noticed these insects at a few other summits this week, there had been some at Great Worm Crag but this was the first time I’d been attacked by such a large swarm. Why, I wondered, did they find it necessary to congregate at the summit cairn?
I found a comfortable spot some way off from the midges and sat down for a while looking across to Caw. Surely I should bag that one too. It didn’t make any sense to have to return to the same parking spot on two successive days. In the end, I told myself I was here to enjoy walking and if I didn’t feel up to it, I shouldn’t do it. So I gave myself permission to save Caw for tomorrow, when fresh legs would allow a more enjoyable experience.
It was not quite five o’clock when I left Kiln Bank Cross. I drove back along the A509 and then the A590 to Newby Bridge and then North to Windermere. I had some grocery shopping to do. With no way of cooking anything and with no catering within easy reach, I needed the ingredients of a few picnic suppers.
Windermere was heaving. Ordinarily, I’d avoid Lakeland honeypots like this at peak season but there wasn’t much choice. I parked up at Booths and, putting on a face covering, entered the store, used the hand sanitiser and did a useful shop with only a few treats.
When I got back to YMCA Lakeside, the evening was calm and still quite warm. I made myself a picnic of ham and cheese rolls, tomatoes and olives, and sat out, overlooking the lake shore. My feast was topped off with a full-fat lemon yogurt.
Despite my lack of hill-fitness, I was very pleased with progress. I’d completed 11 of the 17 tops in just three days, I still had three more days walking and the weather was still improving. Surely, I wouldn’t be going home without finishing?
To be continued…
8th August 2020
Westmorland Borrowdale Round
Whinfell Beacon (472m)
Grayrigg Forest (494m)
Winterscleugh (464m)
9th August 2020
The Ulpha Fells
Buck Barrow or Buckbarrow (549m)
Whitfell (573m)
Stainton Pike (498m)
Yoadcastle (494m)
Hesk Fell (476m)
10th August 2020
Great Worm Crag (427m)
Wallowbarrow Crag (292m)
Stickle Pike (376m)