It wasn’t the most auspicious beginning to an August break in the Lakes. More car trouble meant I’d had to leave the Honda at home and make a last-minute switch to a hire car. Hannah drove me into Andover, first thing on Tuesday morning, where I transferred all my packing to the hire car and set off on the long drive to Cumbria.
Rather foolishly, I drove all the way without stopping. As usual, I was keen to be there and to get walking. I skipped lunch, making do with an apple and a muesli bar, and probably didn’t drink much. I arrived at the start point of my planned walk just before 2pm on a beautiful, sunny and warm day.
Tuesday
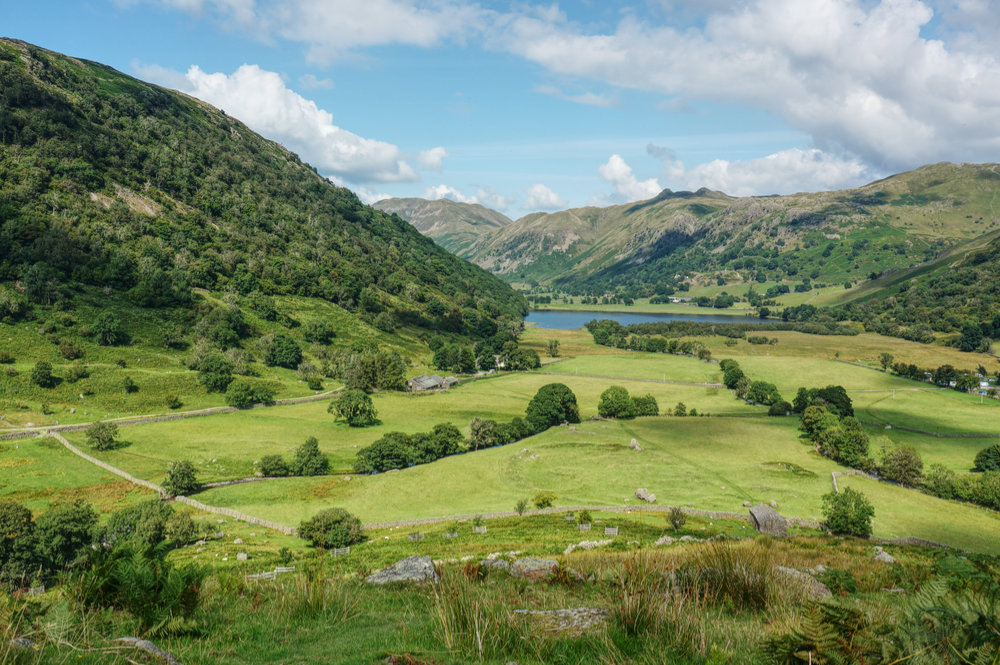
I was hoping to find a parking space at the Cow Bridge car park, near Brothers Water, but I knew that would be highly unlikely – it was. Fortunately, the field car park at Hartsop was open, and I parked up feeling frustrated, hot, and a little dizzy.
The whole idea of an August trip is to take part in some relaxed time in preparation for the new academic year. The head space it provides allows me the latitude to plan and visualise the term ahead. This was my sixth August trip and I’d started to depend on it.
I’d set myself the target of completing a second round the Eastern Fells, and progressing with a second round of the Central Fells on this visit, and I was keen to get going. In fact, today’s walk would complete the Eastern Fells, and I thought I’d probably have enough time to complete the walk, despite that late start.
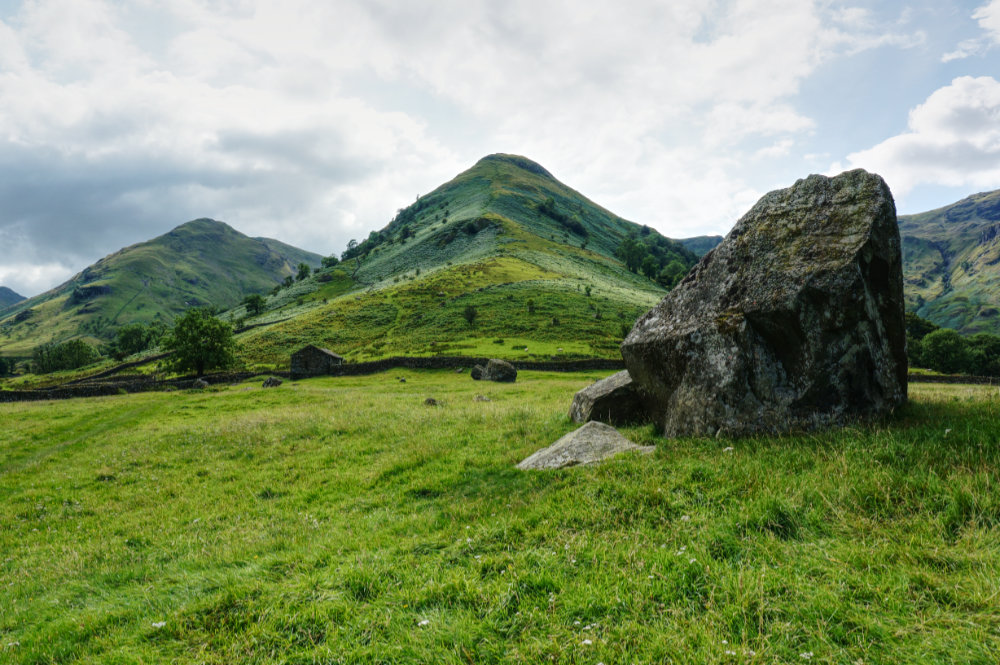
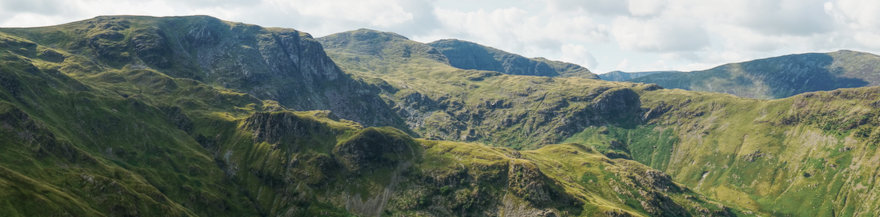
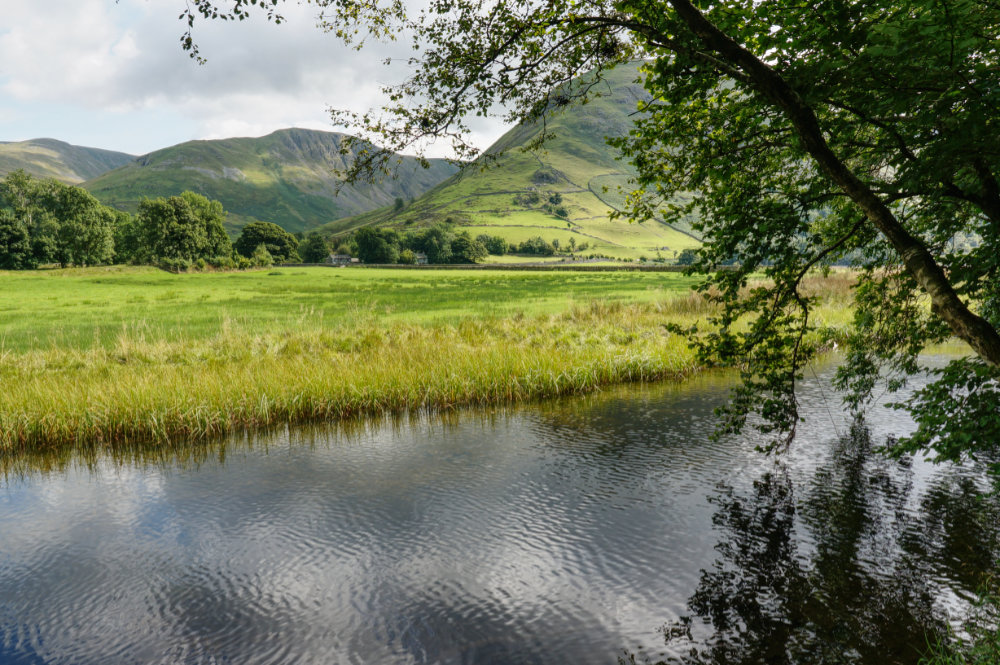
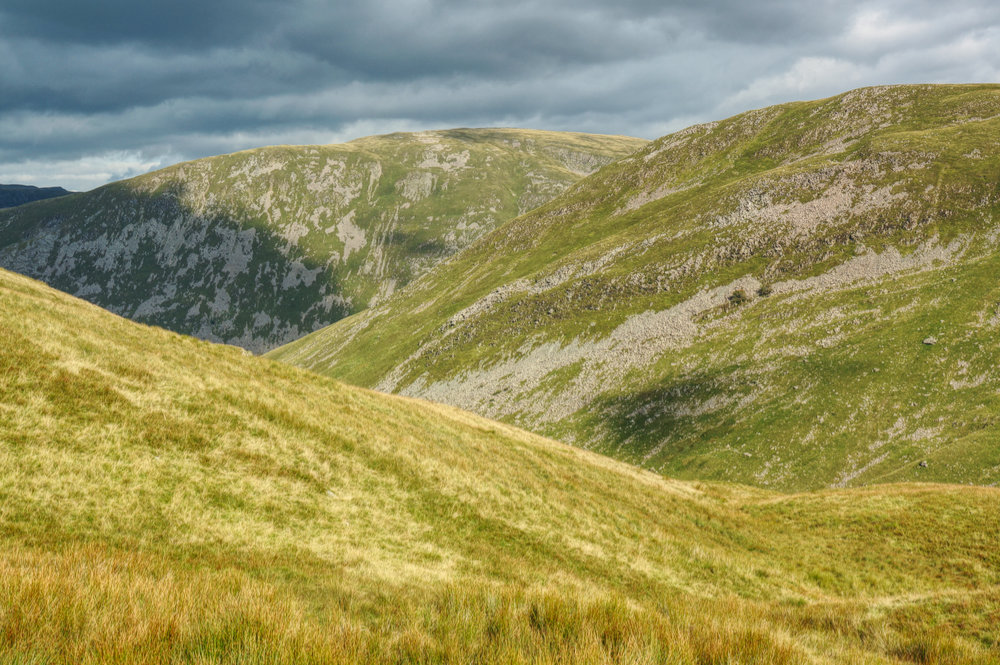
I set off from the car park at a good pace and followed the shore of Brother’s Water to the foot of High Hartsop Dodd. It’s quite a steep climb up the nose of this fell, but I continued at a good pace, heart pounding and thinking that this would be a good test of my fitness. About a third of the way up, I began to feel dizzy and my vision dimmed. I lowered myself to the ground before blacking out.
I’m not entirely sure if I lost consciousness, but when my vision returned, I realised I had dropped my camera, and didn’t remember having done so. I wasn’t sure what had just happened, and that scared me. I remained sitting on the ground for 15 or 20 minutes, taking frequent sips of water and concentrating on my breathing. My first thought was that I should abandon the walk, return slowly to the car and relax in a safe place.
As the minutes passed, I thought about my preparation for this walk and the hours leading up to it. It was then that I realised how foolish I’d been, and that there was a perfectly logical explanation for the blackout. I wasn’t ill, I was just a foolish 59 year old bloke, pushing himself too hard – what on Earth was I thinking?
Having almost convinced myself that it would be okay to continue the walk, as long as I took it easy, I tentatively got up and slowly ascended the steep ridge, promising myself that I would turn back if it were to happen again.
As I climbed, it became cooler and some cloud rolled in, creating a welcome shade. Having adopted a slower pace, I felt fine and became more confident that I could finish the walk. I was relieved to reach the summit at High Hartsop Dodd, and although the time was now after four in the afternoon, I determined to continue, having done all the hard work.
A gentle, upward ridge walk took me to Little Hart Crag, one of my favourite tops, and one I’d already visited on this second round. I took the time to ensure I was completely rested before setting off for Red Screes, the highest point on the walk.
It’s a long and moderately steep drag up to Red Screes summit, and I eventually made the top just after 6pm. By that time, cloud was thickening, but it never felt like rain, and I could see the gentle downward sweep of the ridge down to Middle Dodd, which would mark the completion of my second round of the Eastern Fells.
Red Screes summit is interesting, with several features, including a small tarn. After some exploration, I set off on the return leg of the walk – downhill all the way. After bagging Middle Dodd, there was just the steep grassy drop down the northern ridge. I was glad to have my new-ish walking poles to take the strain off my knees.
I got back to the car around eight in the evening, grateful to have completed the walk after an “eventful” start and happy that I’d completed the Eastern Fells for a second time. I determined to take it easy on the following day.
Wednesday
Wednesday was another day of fine weather, but I’d already decided that I would do no driving and take on only a gentle walk, bearing in mind what had happened the previous day. Besides, I felt like I needed to relax mentally as well as physically.
Loughrigg Fell was on my list of the Central Fells to be bagged in the second round, and it was walkable from YHA Ambleside. So after a day of mostly doing nothing, I set off in mid-afternoon for a gentle walk – no pressure.
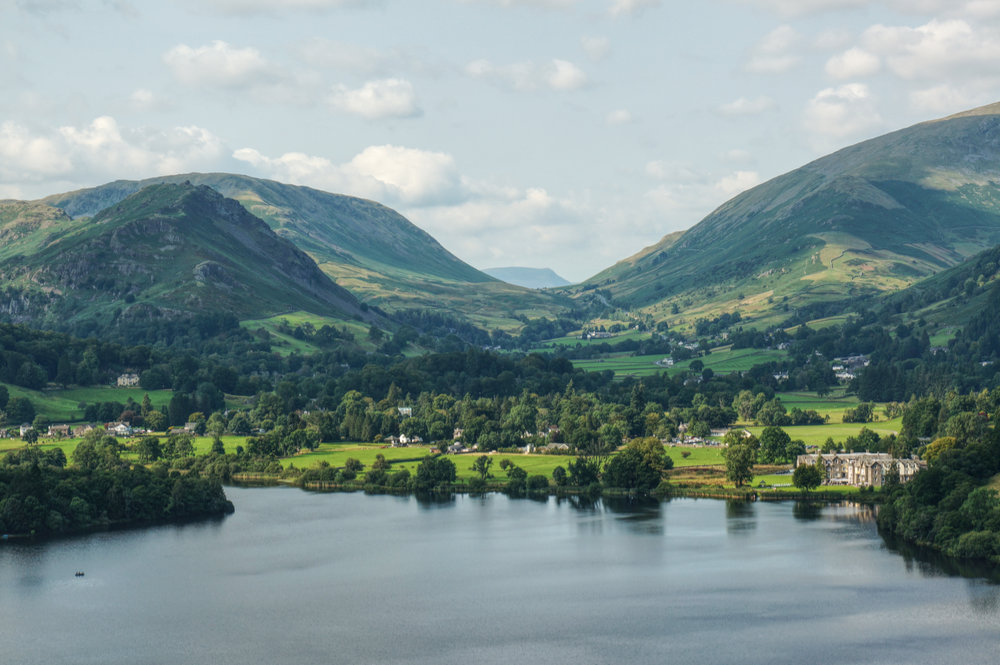
I took the back road to Grasmere lake and then along Loughrigg Terrace. The ascent to the highest point is popular, and is pitched most of the way, so the going was easy. The summit looked great in the late afternoon sun, and there were clear views all around.
I completed the circuit by heading back via Todd Crag and visited the lovely tarn I’d seen on my previous visit. There are excellent views over Waterhead during the descent, and it was a beautiful, calm evening. I arrived back at the hostel feeling good after a relatively gentle four hour stroll.
Thursday
Emboldened by my day of “rest”, I decided to take on the highest point in the Central Fells, High Rise, plus a few others, including the lonely Ullscarf. It’s a visit I’d been looking forward to because last time I visited Ullscarf, the weather was terrible – cold, wet, and I got no sense of the fell at all – everything was in mist. This time would be different. Once again, I was blessed with good weather.
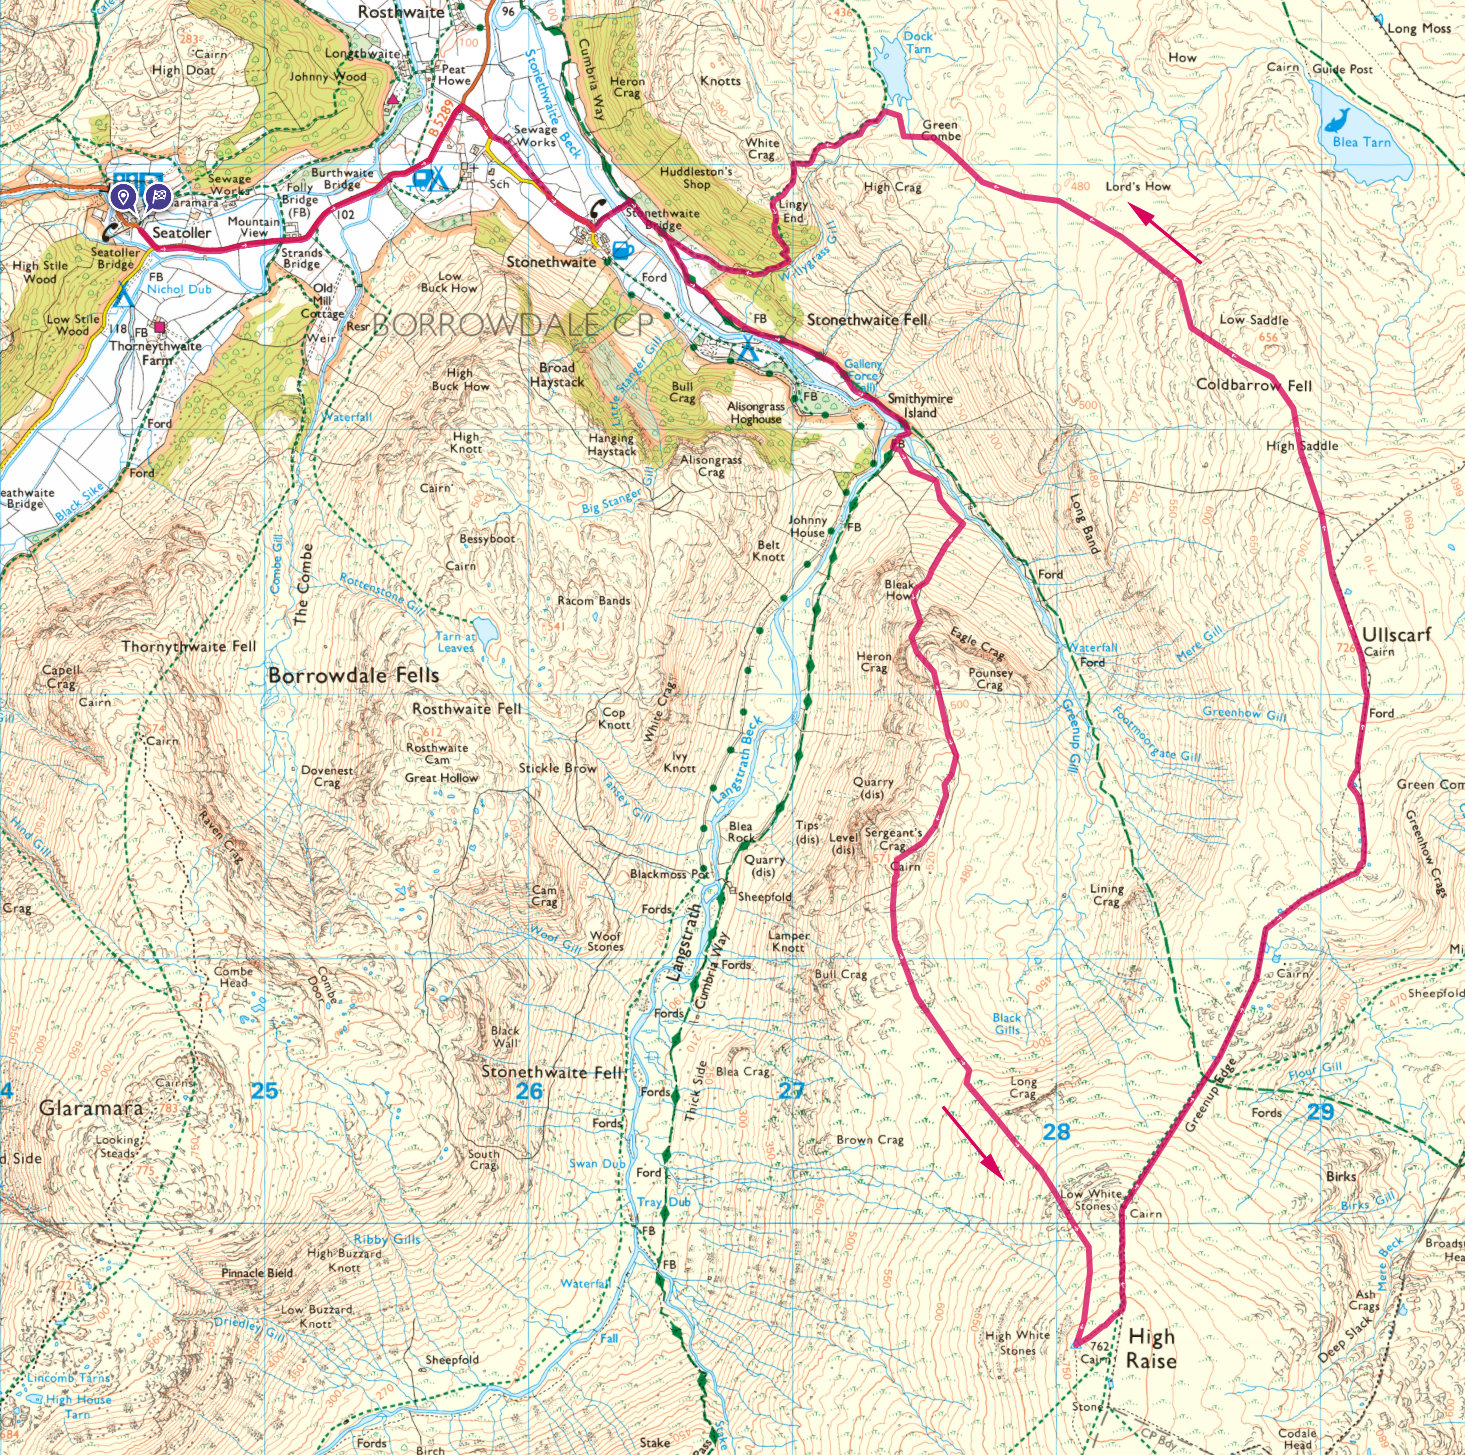
From Ambleside, I drove north to Keswick and then round to Borrowdale and eventually to my favourite car park at Seatoller. This would be the biggest walk of the week at almost 18km, but I’d set out in good time, and the wether forecast for the day was just about perfect.

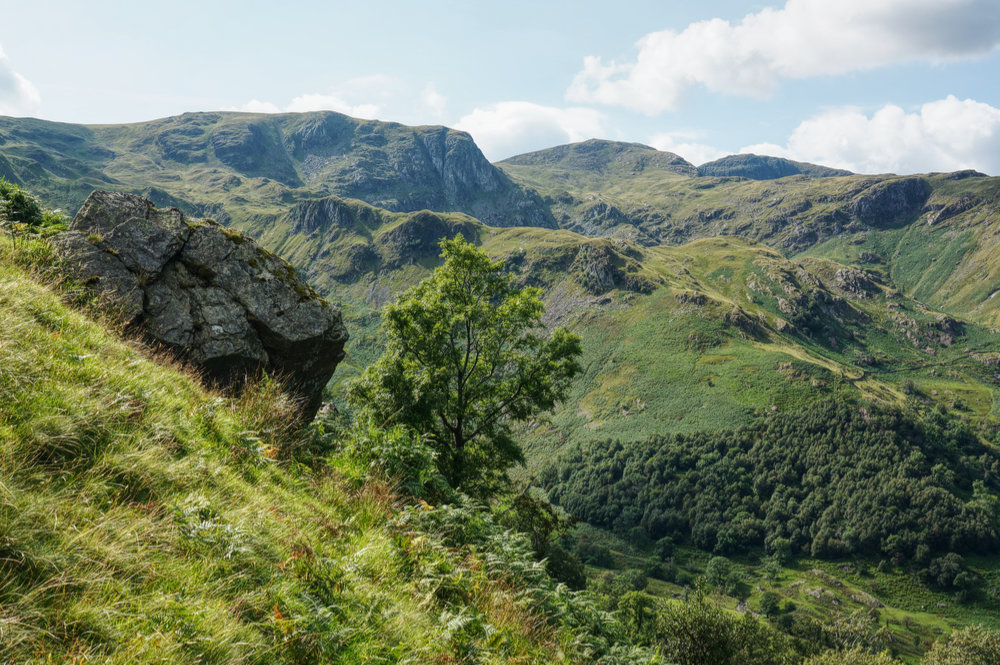
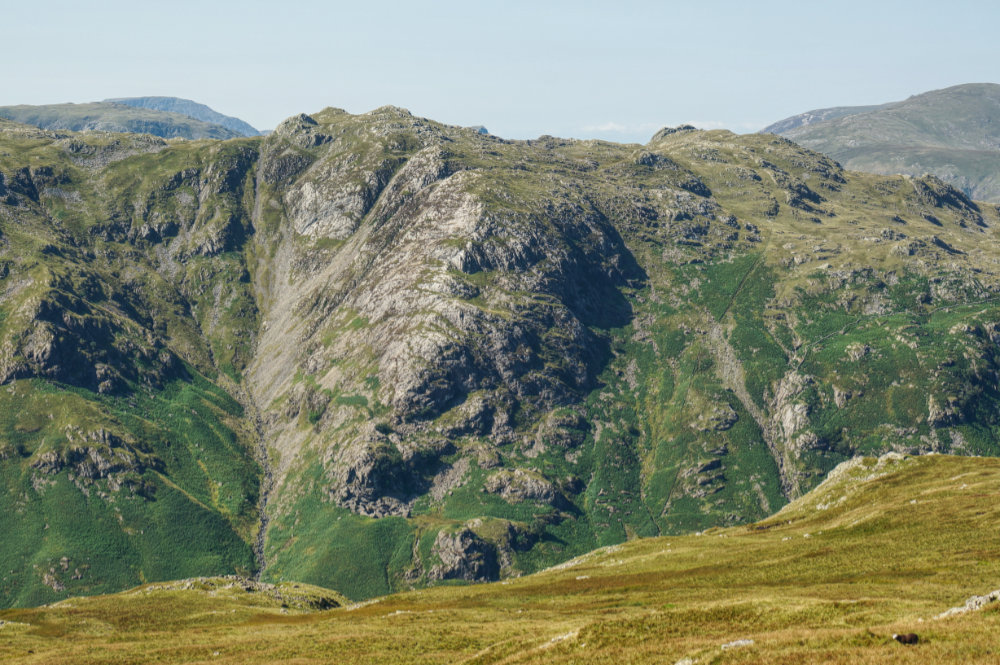
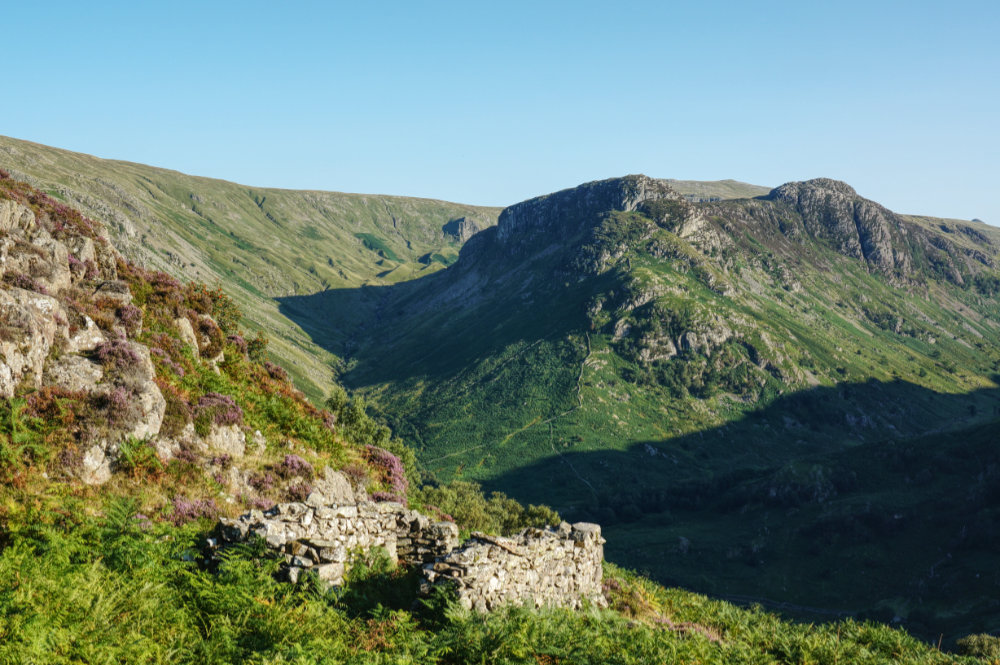
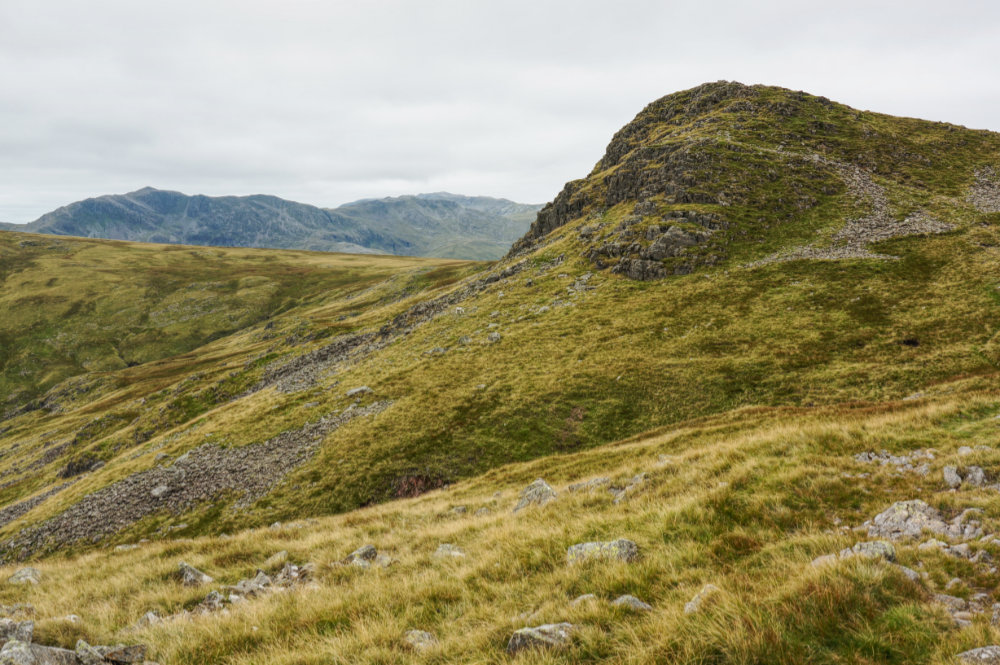
My first objective and toughest section of the walk was Eagle Crag. I had a pretty good memory of my first visit, so although the climb is a little tricky towards the top, I was confident in getting there without a hitch. Once I got there, I knew the rest of the walk would be relatively easy.

The ascent to Eagle Crag is very steep, and with the memory of my foolishness earlier in the week still fresh in my mind, I was happy to take it very slowly. I arrived at the summit at lunchtime and settled down for an extended break.
From Eagle Crag, Sergeant’s Crag is soon reached, after which there’s a short drop and then a long uphill climb to High Rise. The afternoon was hot under clear blue skies and I was glad I’d brought plenty of water with me.

On my previous visit, the route from Sergeant’s Crag to High Rise was not at all obvious in the mist, and I’d headed round to Ullscarf instead, missing it out altogether. Now, on a clear day, it seemed the only sensible thing to do.
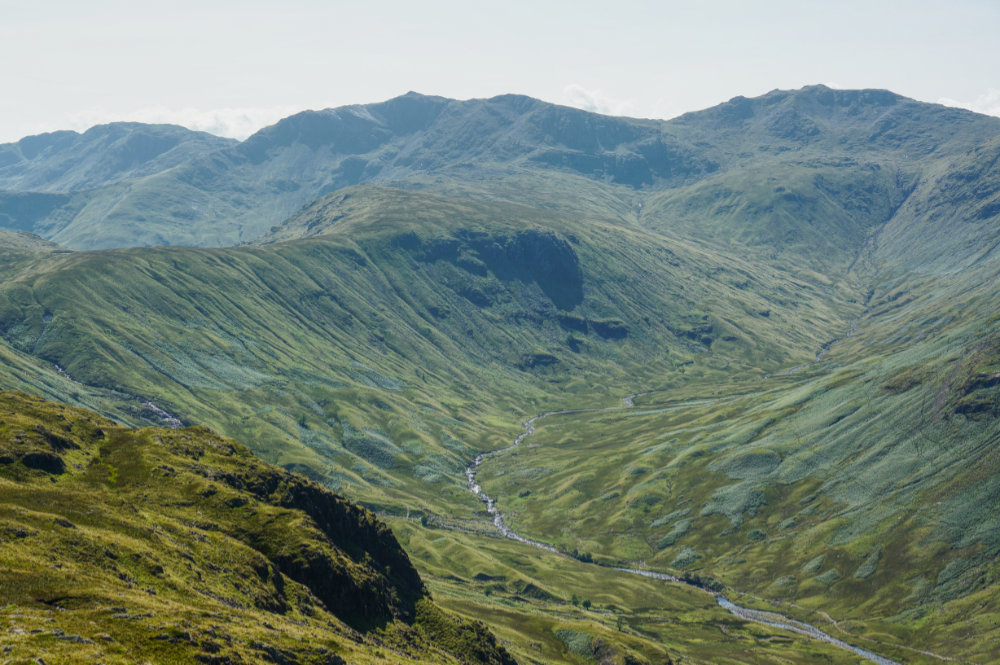
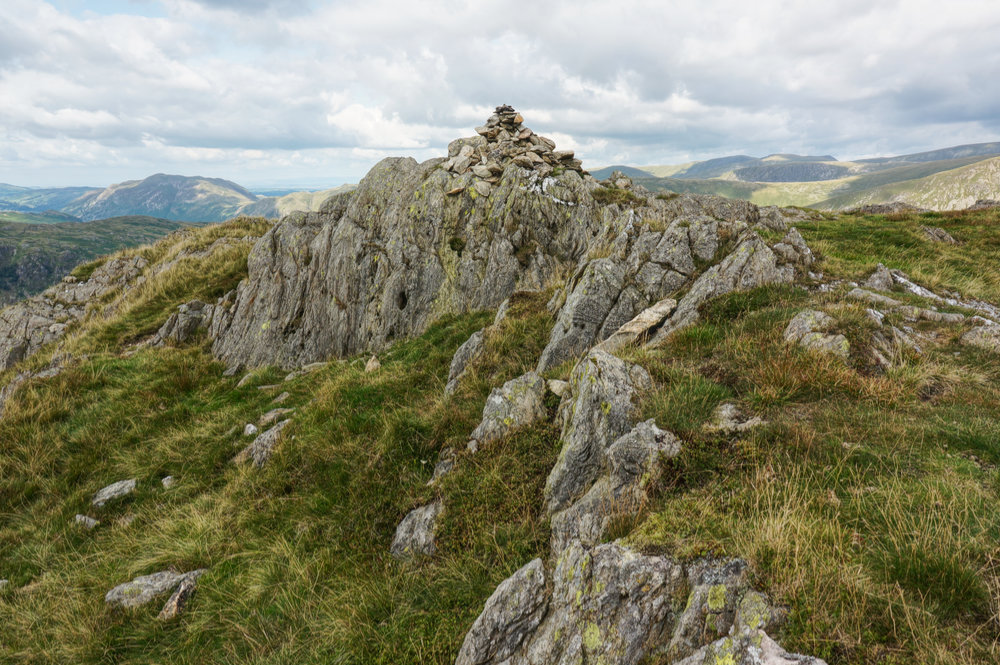
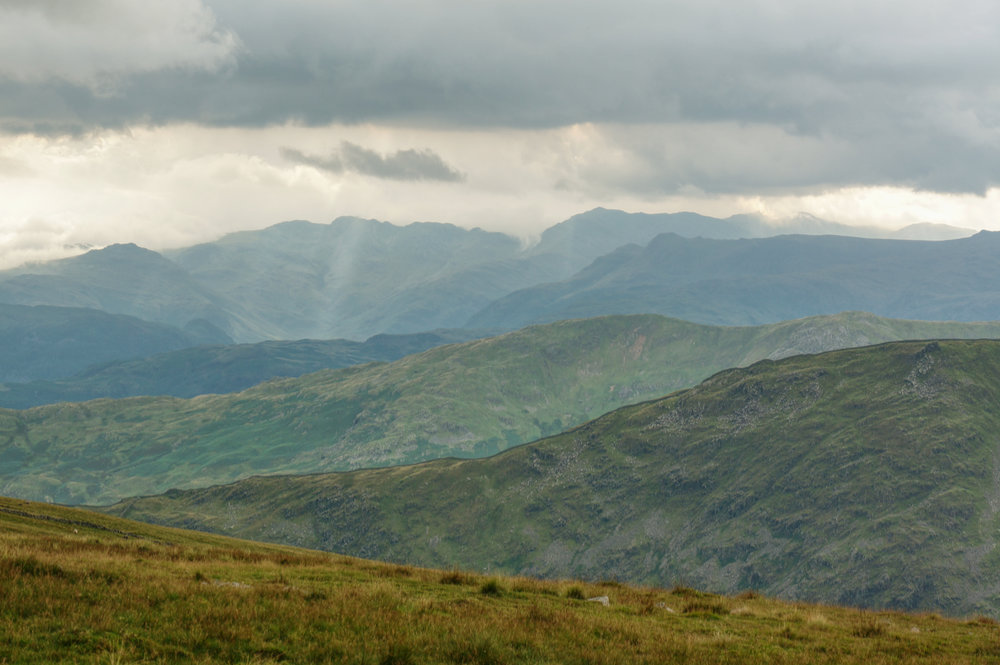
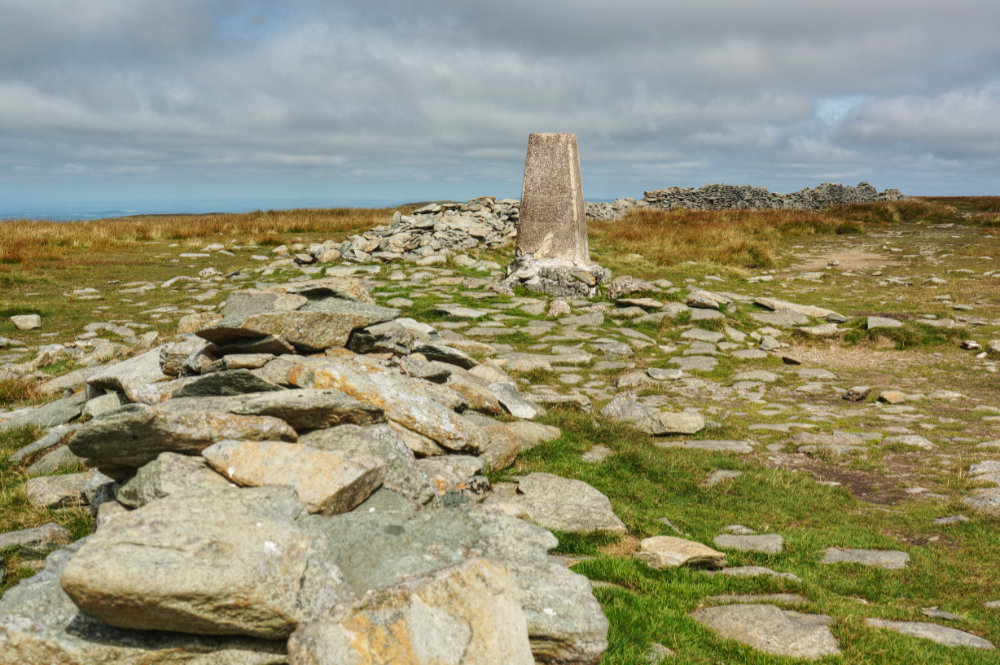
Some commentators speak rather disparagingly of High Rise summit, but I rather like it. It has a handsome stone-built triangulation pillar, and a marvellous view to the Western Fells. Many walkers visit it as a there and back excursion from the Langdale Pikes, but I like to think of it as a valid destination in it’s own right.

I wasn’t yet half way round the circuit, and it was already a quarter to four, so I didn’t stop long at High Rise. In any case, there was a constant stream of visitors from the Langdale Pikes, and I knew my forward journey would be one less well travelled.
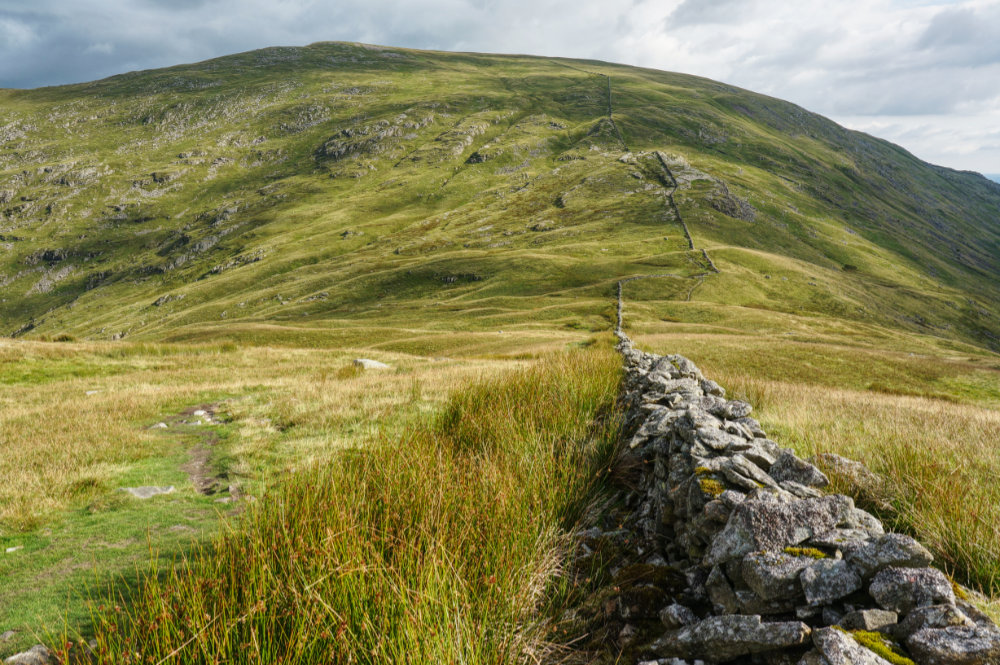
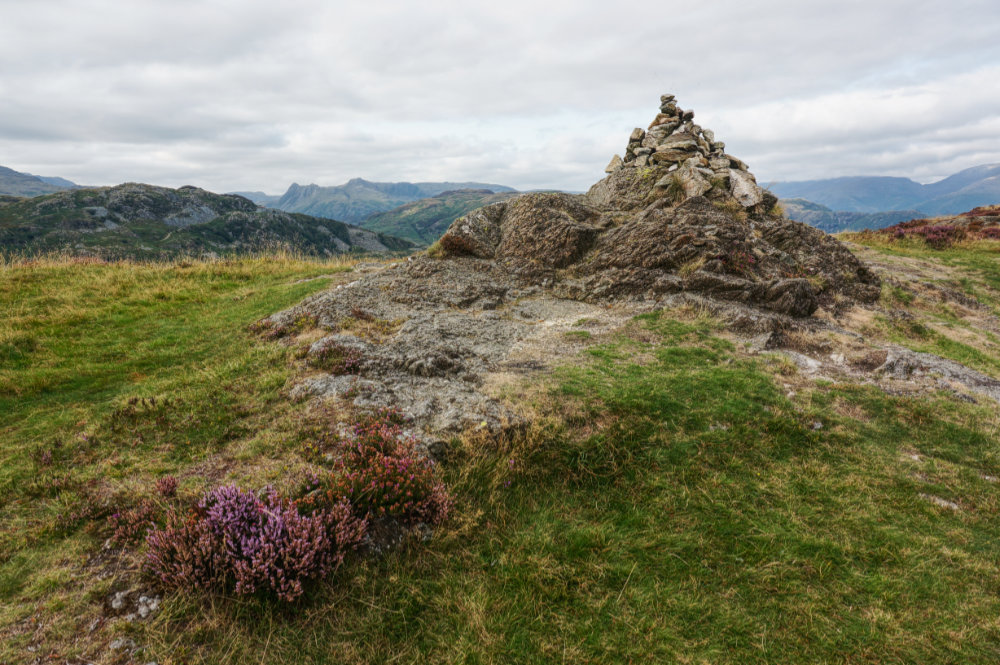
A gentle descent and an even more gentle rise over 3.5km and I was at Ullscarf summit cairn. It was barely recognisable as the same place I had visited almost five years before. On that visit, I only managed to find it by following the broken fence posts in a thick mist, after which I’d retraced my steps – all the while worrying that I might get lost. This time it was a lovely relaxed stroll.

With no obvious place to sit, I lay on the grass near the summit and bathed in the late afternoon sun. It was almost five o’clock and I was having a lovely time.
On my previous visit, I can remember thinking that the only good thing about the place was that I would never have to visit it ever again! Weather changes everything in the Fells.

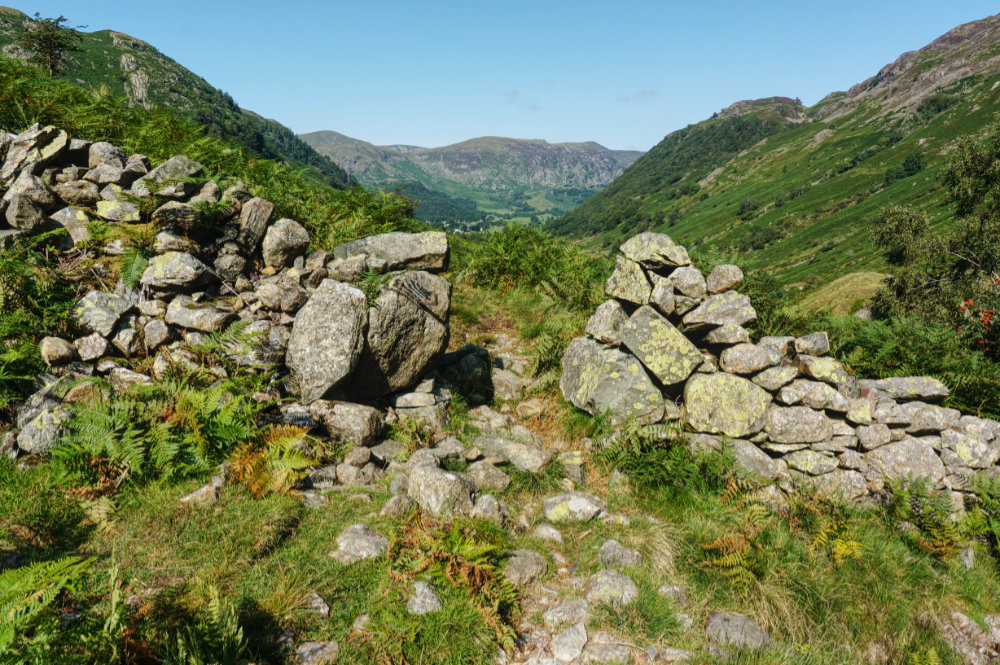
I now had a pleasant downhill ramble along a wide and ill-defined ridge with footpaths that appeared and disappeared – the route was not entirely clear and I was glad of the OS Maps app on my phone.
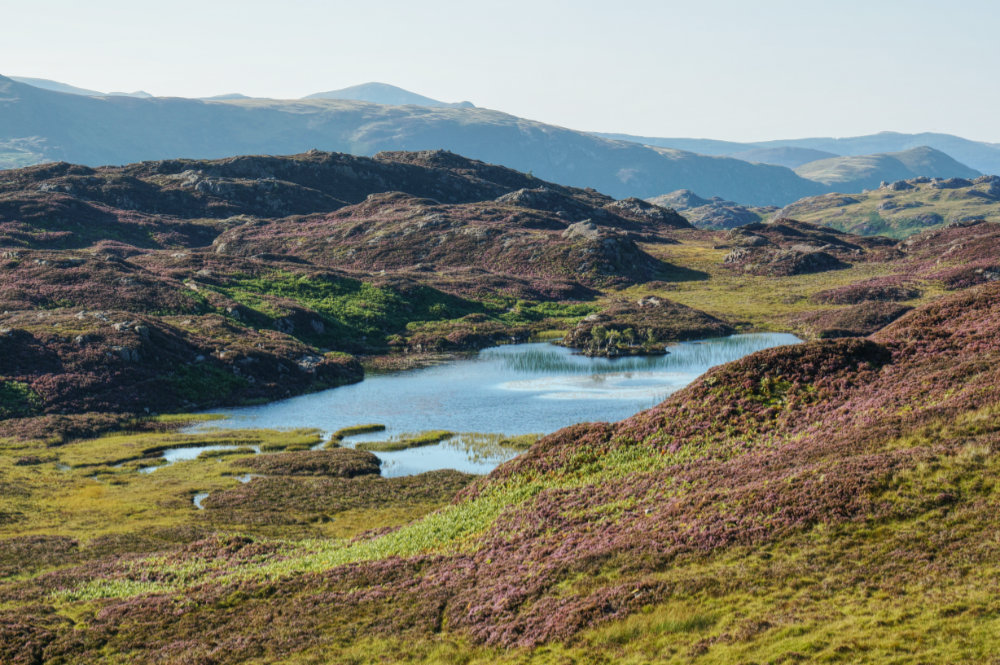
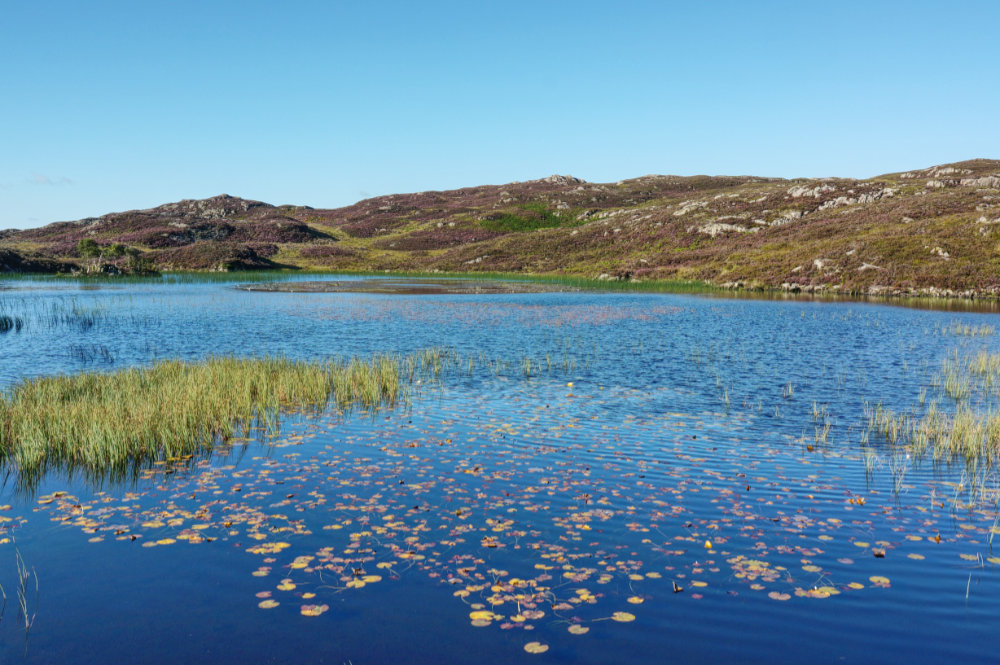
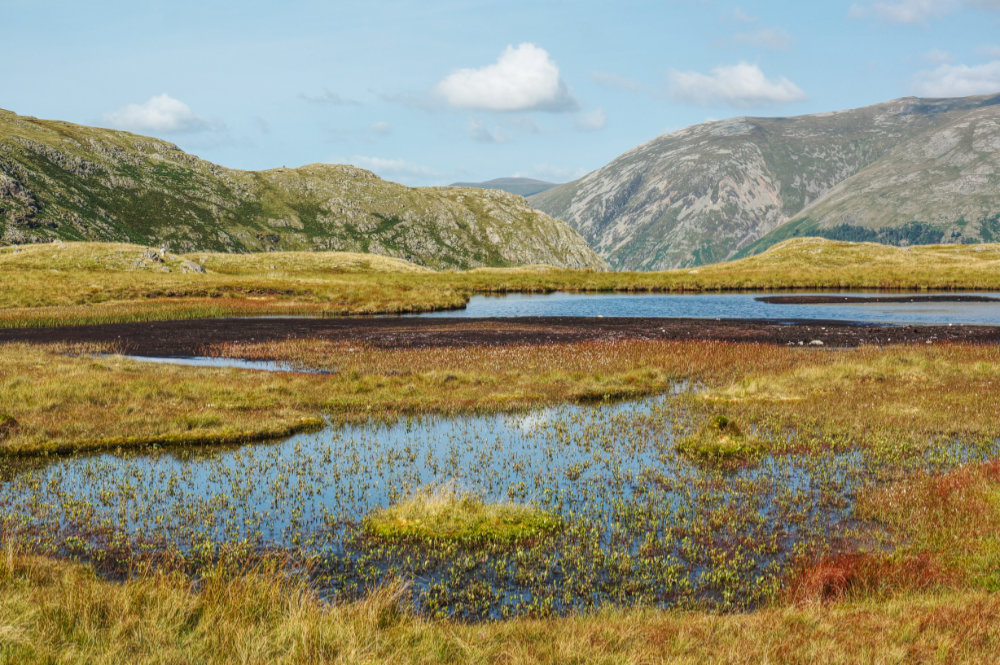
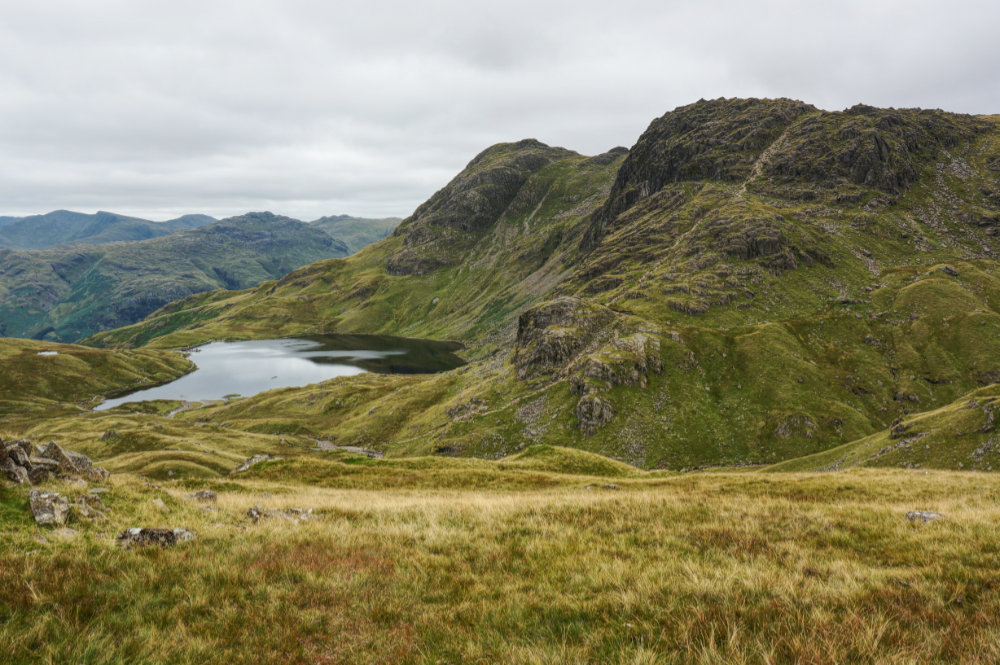
Eventually, after following the route as best as I could, I arrived at the beautiful Dock Tarn just after six. Surprised that I hadn’t known about this lovely and peaceful place, I spent some time taking in the atmosphere. It’s possibly my second favourite tarn (after Codale).
From Dock Tarn there is a clear and open path to Lingy End, followed by a steep drop through woodland. Fortunately, the path is pitched and it made for an excellent end to a really good day walk. I arrived back at Seatoller at around seven thirty.
It would have been foolish not to have called in at Booths in Keswick on the way back, so I did and picked up some treats.
Friday
One of the many advantages of already having completed the Wainwrights is that I don’t feel compelled to undertake a second round in any particular order. So I decided to spend a day in the Far Eastern Fells. I’d been intrigued by the Haweswater Reservoir as a start point for walks because I hadn’t visited it when completing the Far Eastern Fells the first time and it looked like an interesting area. It’s a long drive from Ambleside to the parking area at Martindale Head and the weather had changed, it was still dry but there was much more cloud.
There were plenty of cars at the small parking area but I found a good parking spot. Before setting out, I cooked up some sausages on my new stove and had a sausage sandwich breakfast. Well, more like a mid-morning snack.

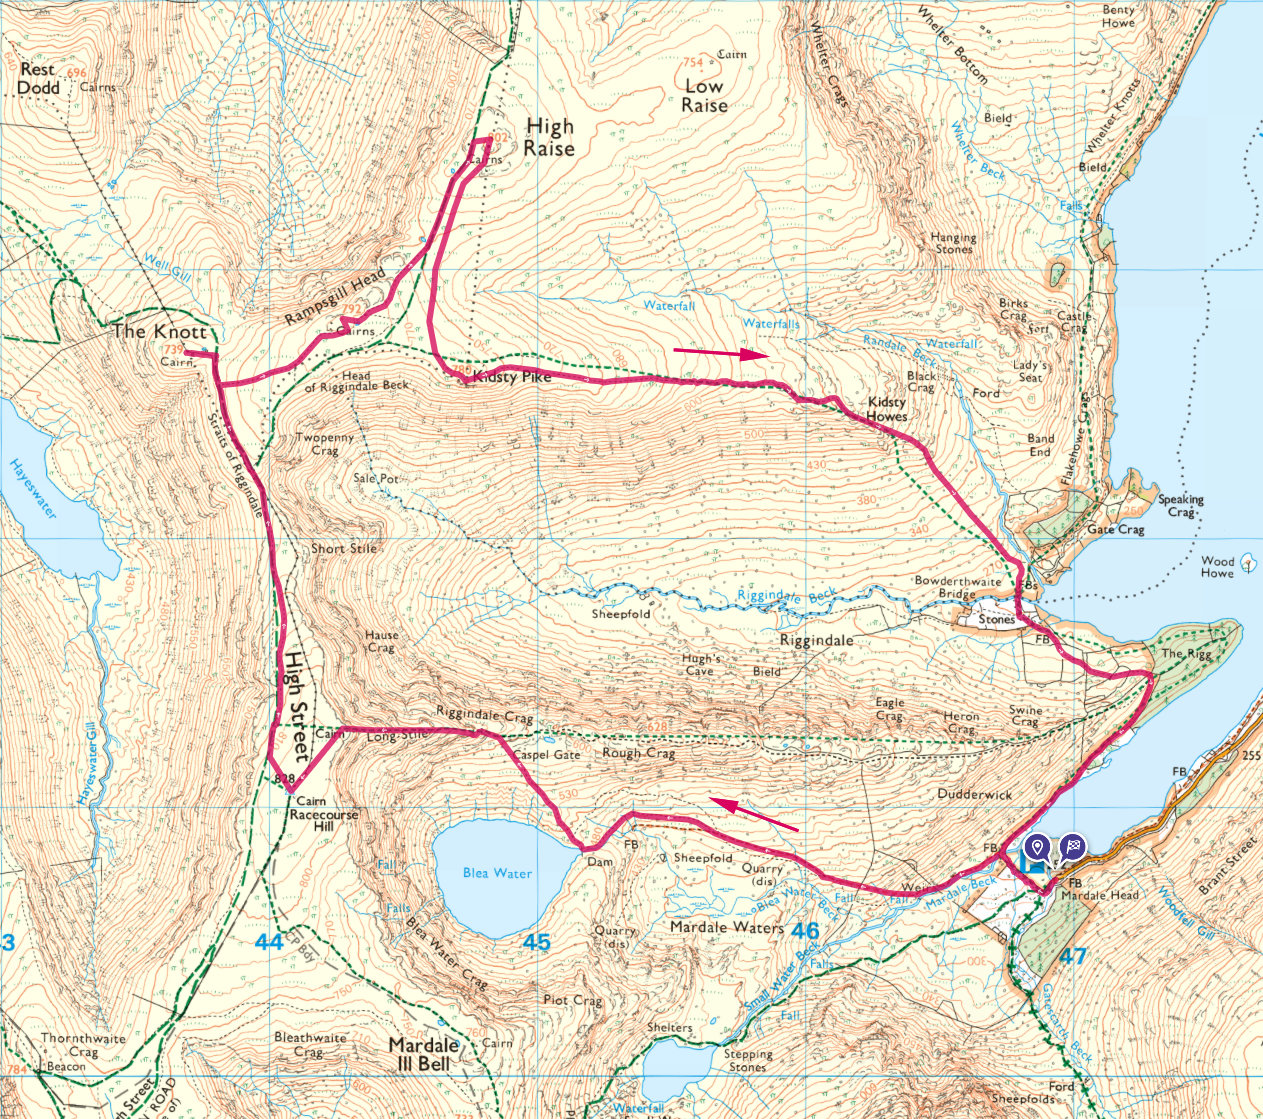
After packing everything away, I set off, following the walk. Most visitors seemed to be taking the Rough Crag ridge route and that’s something I’d love to do in the future – perhaps on my third round! For today, I was looking forward to getting close to Blea Water.
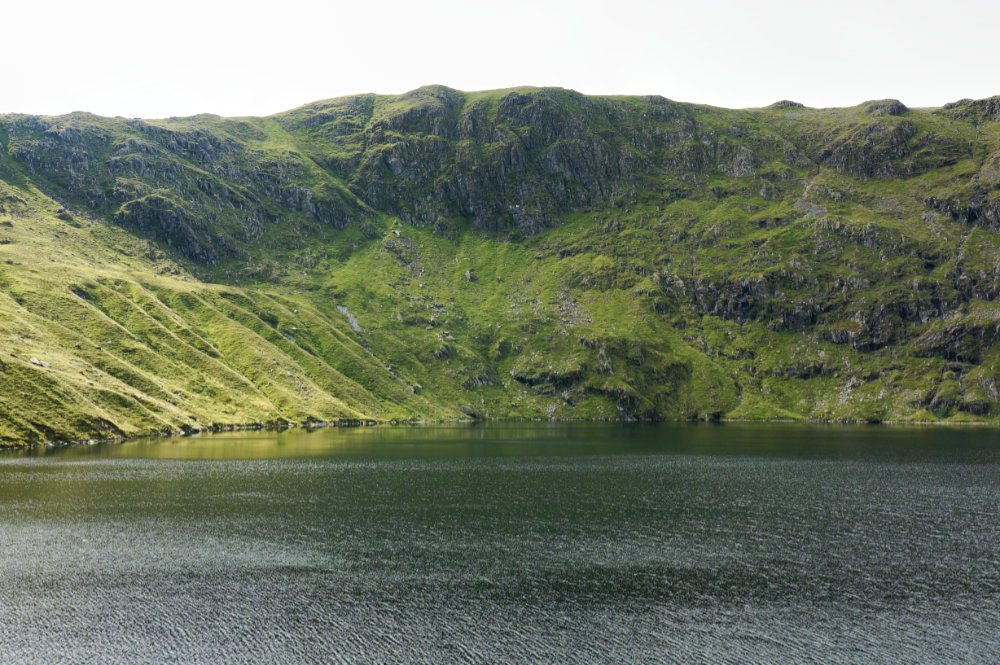
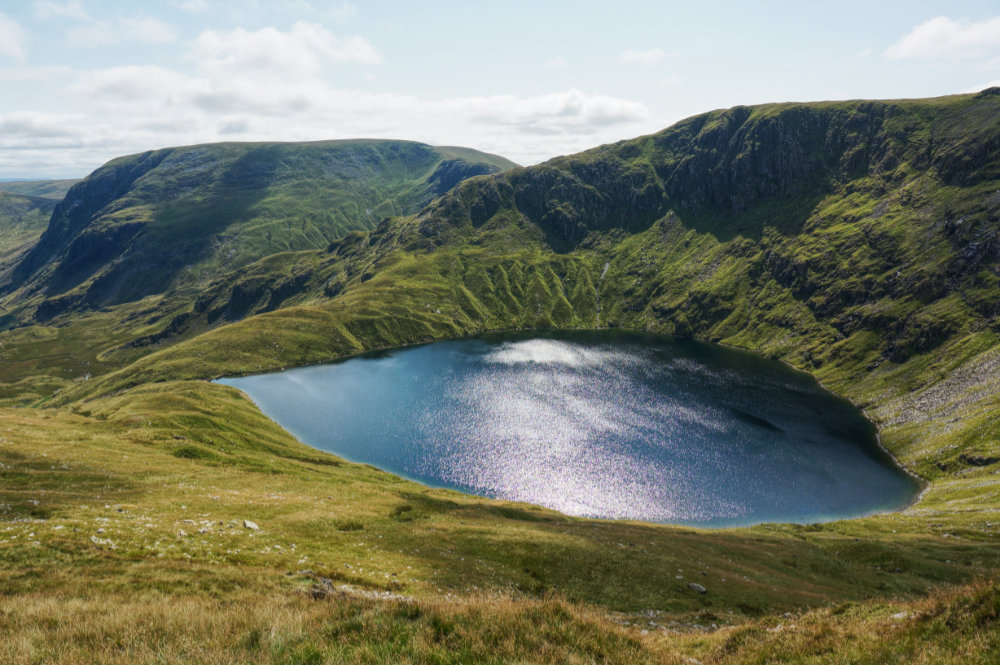
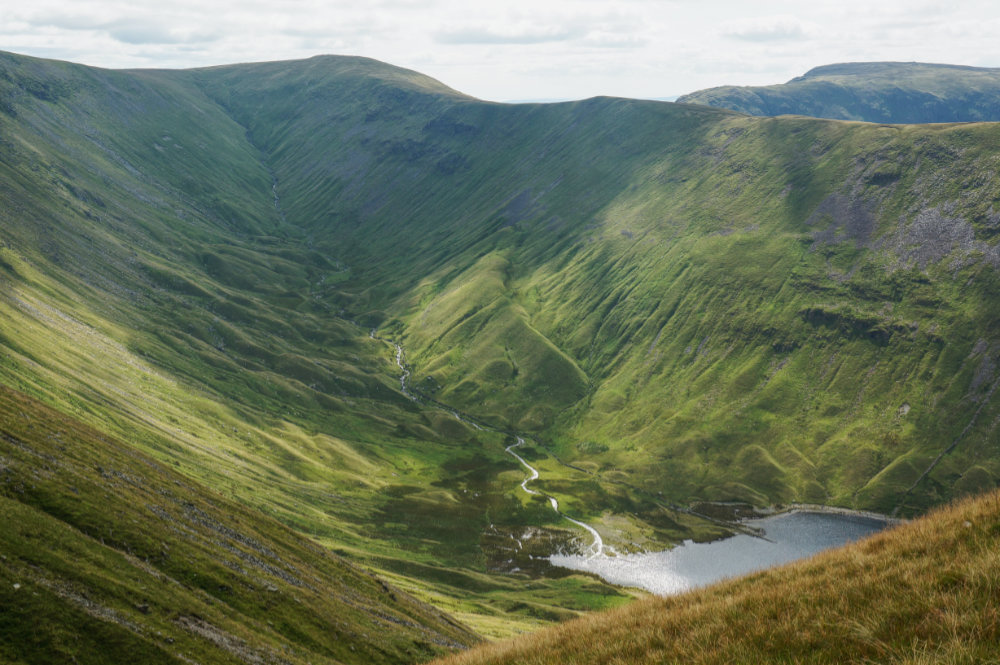
The first objective was High Street summit. When I did the Kentmere Horseshoe, some years before, I stopped on the ascent to Harter Fell to look down on Small Water and Blea Water and thought it would be a good idea to visit them. Small Water would have to wait for another day, but Blea Water was looking majestic in the broken and fleeting sunshine.

I stopped a while, above the water’s edge, and snacked on a muesli bar. On the far side of the tarn was an area of erosion where, in the distant past, water had carved out a series of mini ridges and valleys. The low sun was picking them out and they looked like a mini Lakeland landscape.
From Blea Water, the path rises steeply until it merges with the ridge path, at which point, the view over Riggingale opens up and gives a lovely sense of being on a narrow ridge without ever feeling precarious.
I reached the triangulation pillar at High Street at around one thirty, found a seat by the broken down wall, and had some lunch. High Street is a popular top, particularly the north/south route on which it lies, and there were several others having their lunch.
I’d selected this walk from a new book, Walking the Wainwrights by Graham Uney, published the previous month. I like the book because it provides a more realistic approach to completing the Wainwrights for someone of my fitness. Certainly more realistic than Stuart Marshall’s book of the same name. However, the published walk omitted The Knott because it appears on a different walk, but it is so close to the route that it seemed daft not to include it here – so I did.
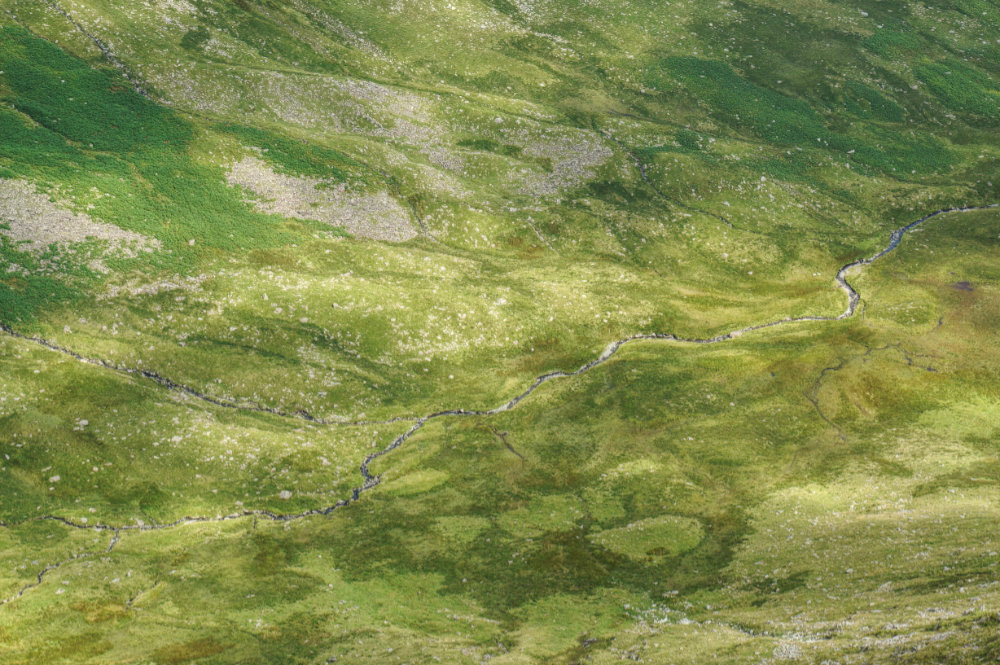
I met a few people at the Knott who were looking at the moraines in the upper Hayeswater valley and wondering what they were. We had a discussion about glaciation and I explained how they might have formed.
After the Knott, the tops come thick and fast, with Rampsgill Head, High Raise, and Kidsty Pike all bagged in short order. There were two things of note; first, I’d now visited both High Raises (Langdale and Mardale) on successive days, second, I confirmed that Kidsty Pike is one of my favourite summits. The almost sheer drop into Riggindale, and the view across that void, back to High Street are pure drama. Certainly it’s in my top 5 Wainwright tops.

I stayed some time at Kidsty Pike trying and (mostly failing) to photograph the feeling of being there. The weather was improving and it was a lovely, calm place to be.

The return leg is a long and mostly easy descent along Kidsty Pike’s eastern ridge, down to the Haweswater Reservoir. By the time I reached the water, most of the cloud had cleared and it was very warm in the evening sun.
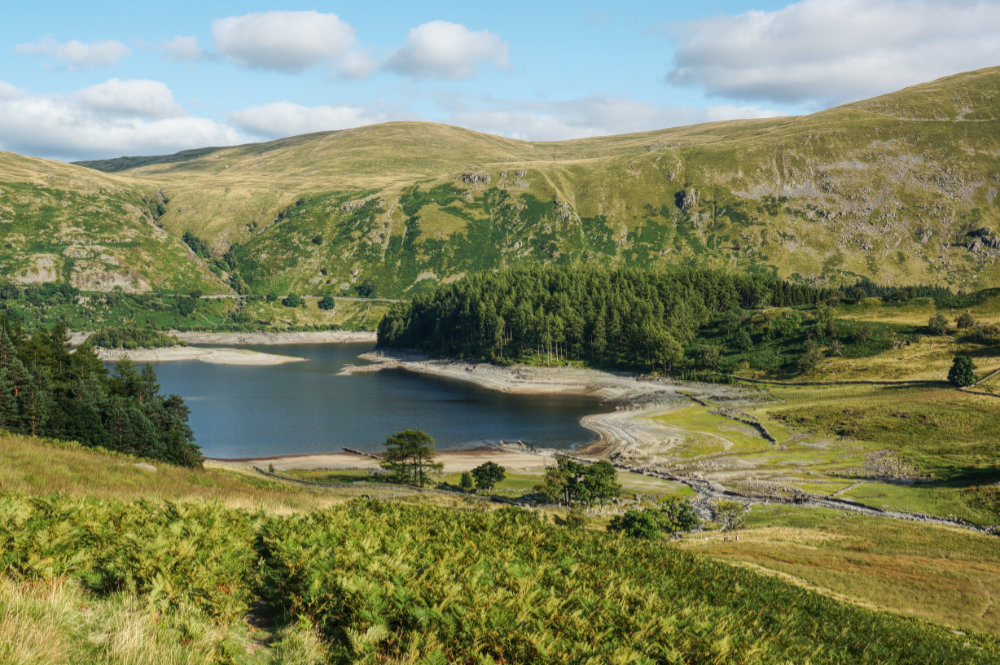
The water level in the reservoir was way down and I could see the remnants of an abandoned farm landscape, normally submerged. The valley was flooded in 1935 to provide drinking water for the City of Manchester.

I arrived back at the car around six thirty feeling as though I’d had a very good couple of days walking, having added another nine Wainwrights to the total, and had regained my confidence after an unfortunate start to the week.
Saturday
On Saturday morning, I packed the car and checked out of YHA Ambleside. For the rest of this trip, I’d be staying at YMCA Lakeside – a cheaper option and a change of scene. I jumped into the hire car, said goodbye to Waterhead, and headed north.

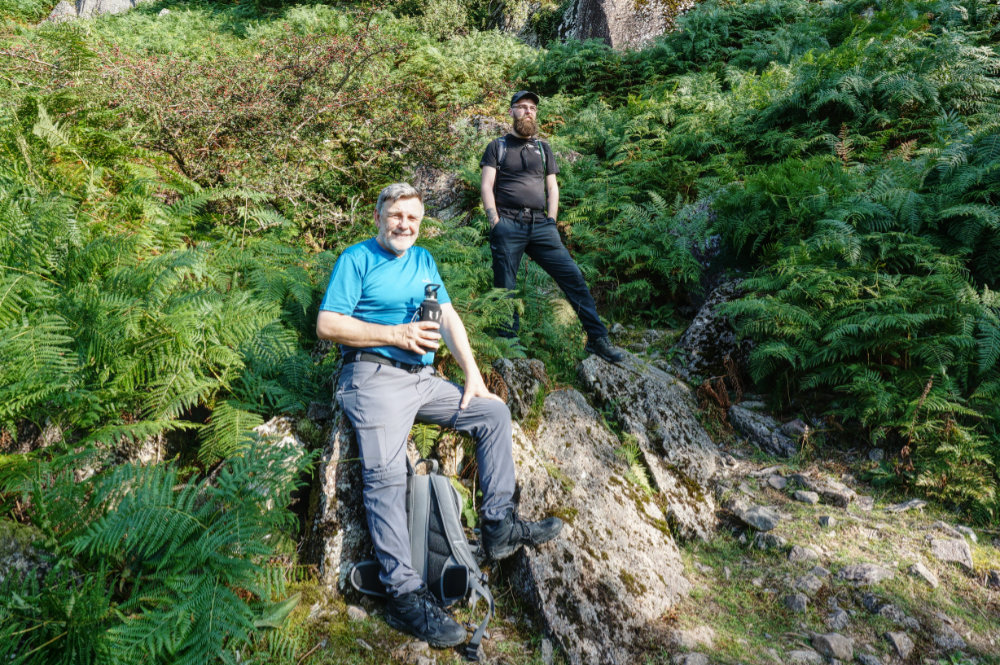
It was now becoming a regular thing. I’d arranged to meet up with Rob and Tom for a day of walking and the plan was to take on another walk from the Graham Uney book. Back to the Central Fells and starting at our now familiar start point at Grasmere.
We met for a sausage breakfast at eight o’clock in the main car park at Grasmere. Surprisingly, there was plenty of space, despite this being a bank holiday weekend. Just as we were packing away, a group of older ladies arrived and their car had a flat tyre. Curiously, they were unaware until we pointed it out – it was obvious to us as soon as they arrived. We helped them change to the spare and they were very grateful. They were litter picking volunteers and it felt good to do a good deed for people who were themselves doing a good deed.
There was a lot of activity in the recreation field adjacent to the car park, and we realised that there was a fell run/walk event. As it turned out, the start of their route was the same as ours – they and we were headed for Helm Crag.
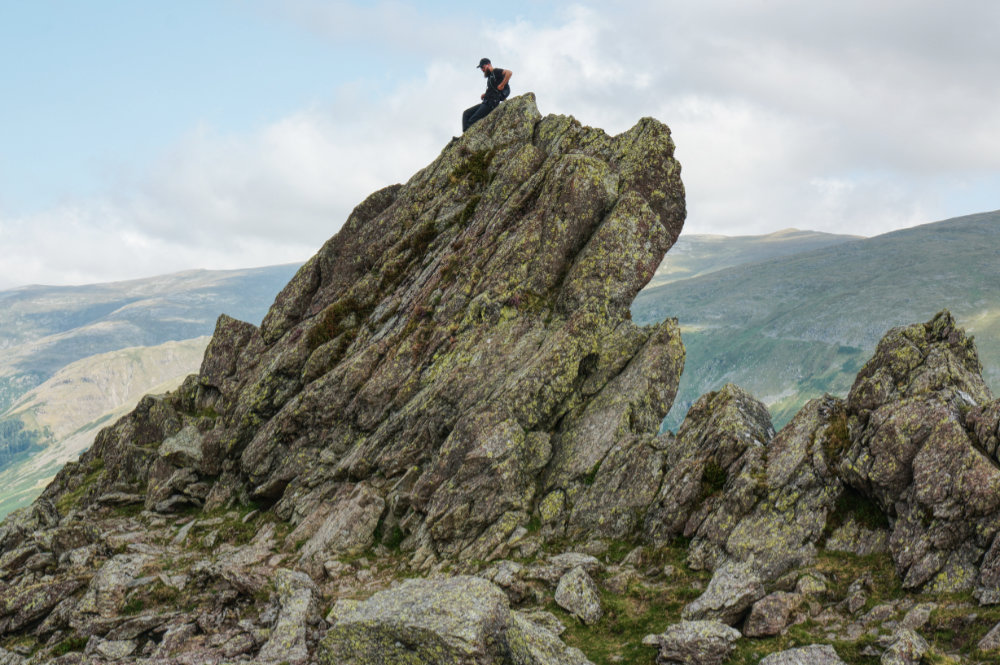
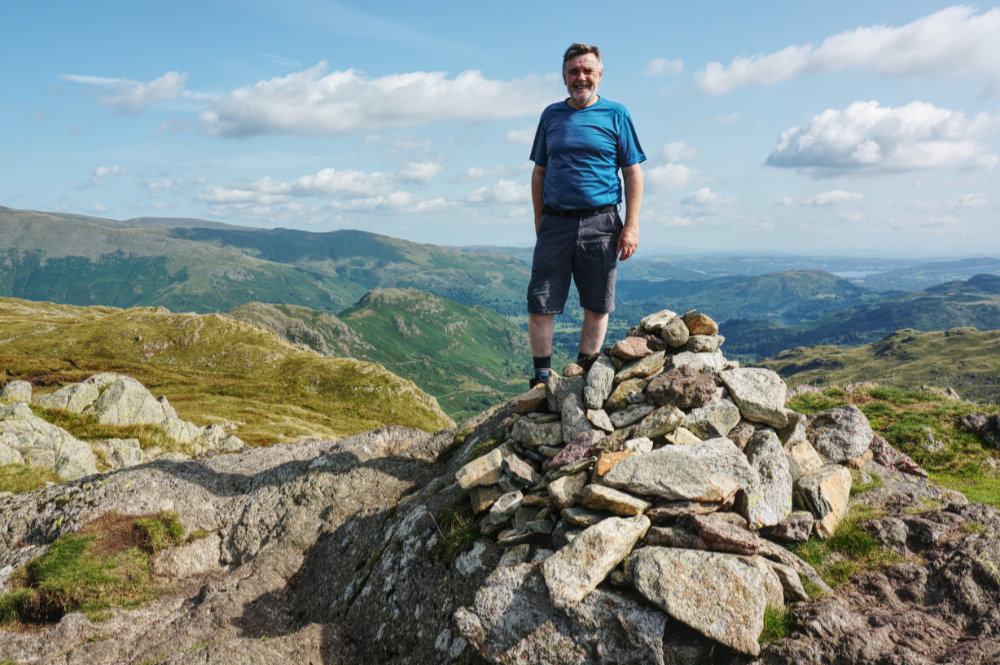
It was a beautiful day and everyone seemed to be having a good time as we huffed and puffed our way up the steep track to Helm Crag summit. When we arrived at the Howitzer, there was a party atmosphere with lots of small groups chatting and snacking. Rob and I found a perch while Tom climbed the rock summit.
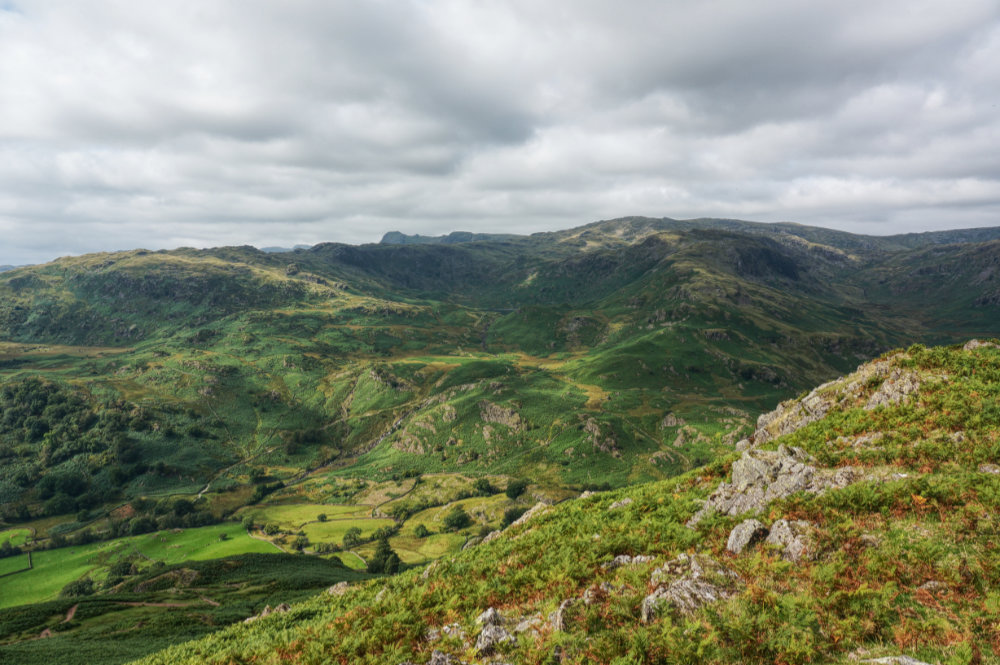
As we made our way along the ridge first to Gibson Knott and then Calf Crag, the crowds melted away. The wether was just about perfect; blue skies with just the right amount of cloud and not too hot. We stopped at Gibson Knott for a slow lunch and had the place to ourselves. The views over Far Easedale gave the place a feeling of remoteness.
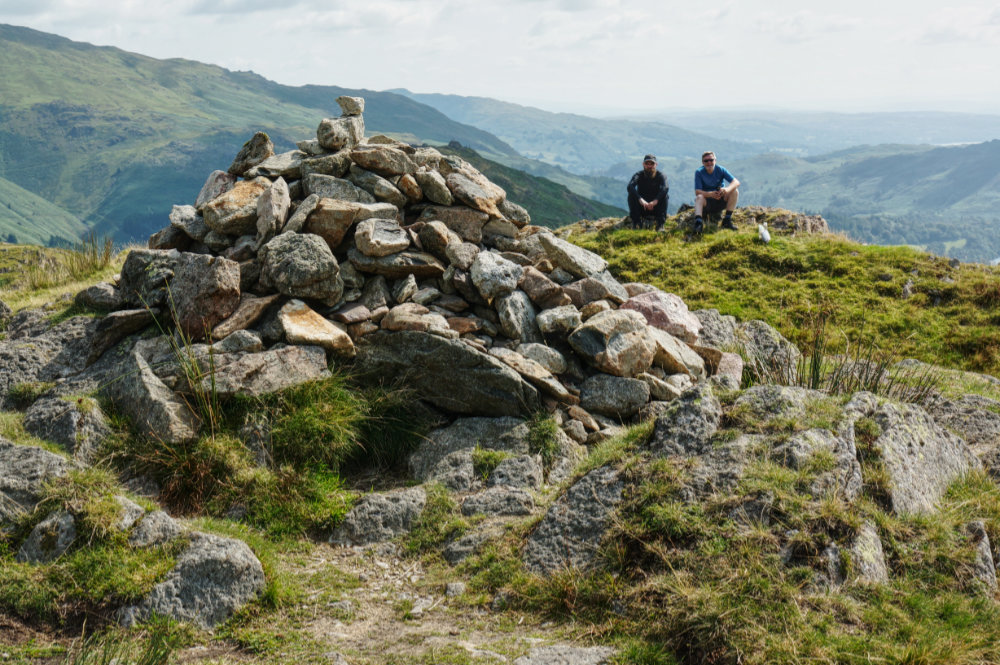
We were taking things easy and strolled on to Calf Crag, arriving at quarter to four. There we photographed our achievement and looked back along the ridge to Helm Crag before heading east to Steel Fell.
It had been a few years since my last visit to Steel Fell but the approach felt very familiar. The last time I made a there-and-back visit before heading off to Sergeant Man. This time, the plan was to walk down the ridge at Cotra Breast and then back into Grasmere. I’d chosen this walk so that we could take our time and just enjoy being in the fells without worrying about keeping to a schedule.
At Steel Fell we once again recorded our great achievement with a photograph – it was, after all, the highest point on today’s walk. We made our way down the ridge in the late afternoon sun with the busy A591 way below us on our left.
The walk back into Grasmere was longer than expected and a slight anti-climax after such a lovely day. It was around 7pm when we arrived back at the cars. We had attempted to find a cold pint of shandy but all the bars were closed for private functions. Typical!
Sunday
After 5 walks in 5 days, I was taking it easy today. I got up late, read a bit and generally relaxed, but I didn’t feel like I should waste the opportunity to add another Wainwright to my round two total. Mid-afternoon, I got my kit together and headed off in the direction of Coniston.
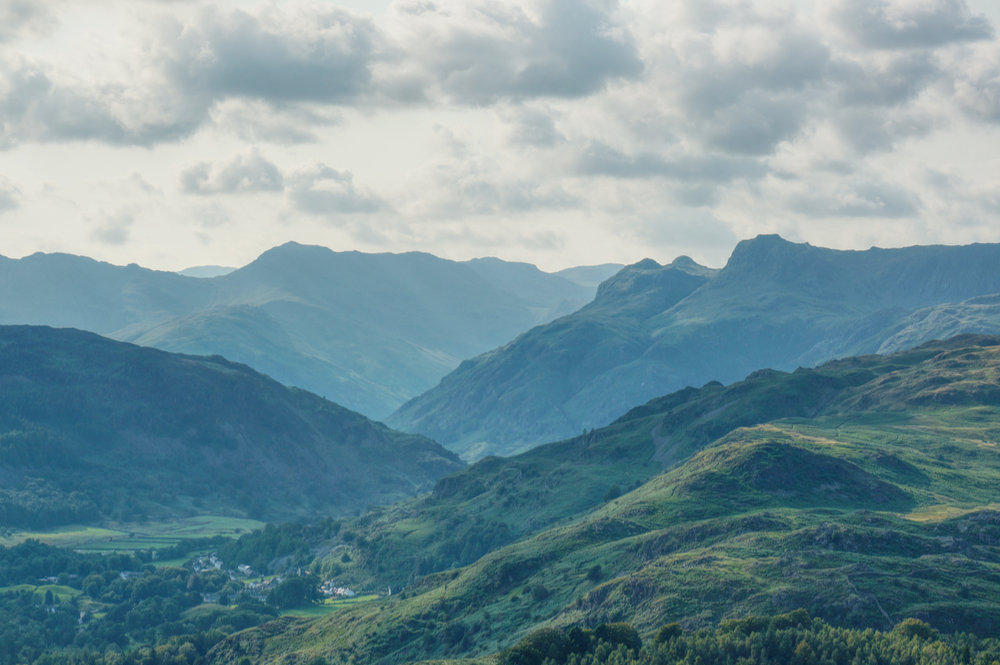
Holme Fell is considered a good location for landscape photography, there’s a view to the Langdale Pikes and down to Coniston Water. On my first visit, it didn’t strike me as a great photo location but I was prepared to give it a second chance. Unfortunately, the weather had turned, there was a lot of cloud cover and the light was flat.

I parked at the roadside car part below Tarn Hows and climbed the little fell, making it to the top just after 5pm. There were a few breaks in the cloud, which at one point illuminated the summit at Black Fell, but for the most part it remained cloudy. I stayed at the top for around an hour, looking for compositions but found nothing I was happy with. Despite this, I determined to give myself more time for photography in the future.
Monday
On my last day of this trip, the lovely sunny weather of earlier in the week was a distant memory. Although the fell tops were almost clear, the cloud was thick and low. I checked out of YMCA Lakeside and drove to Grasmere, parking at the small car park in the centre of the village. Despite this being a bank holiday Monday, there were very few people about. It didn’t feel like August, it felt like the end of the summer and the beginning Autumn, there was a slight chill in the air as I walked up towards Silver How.
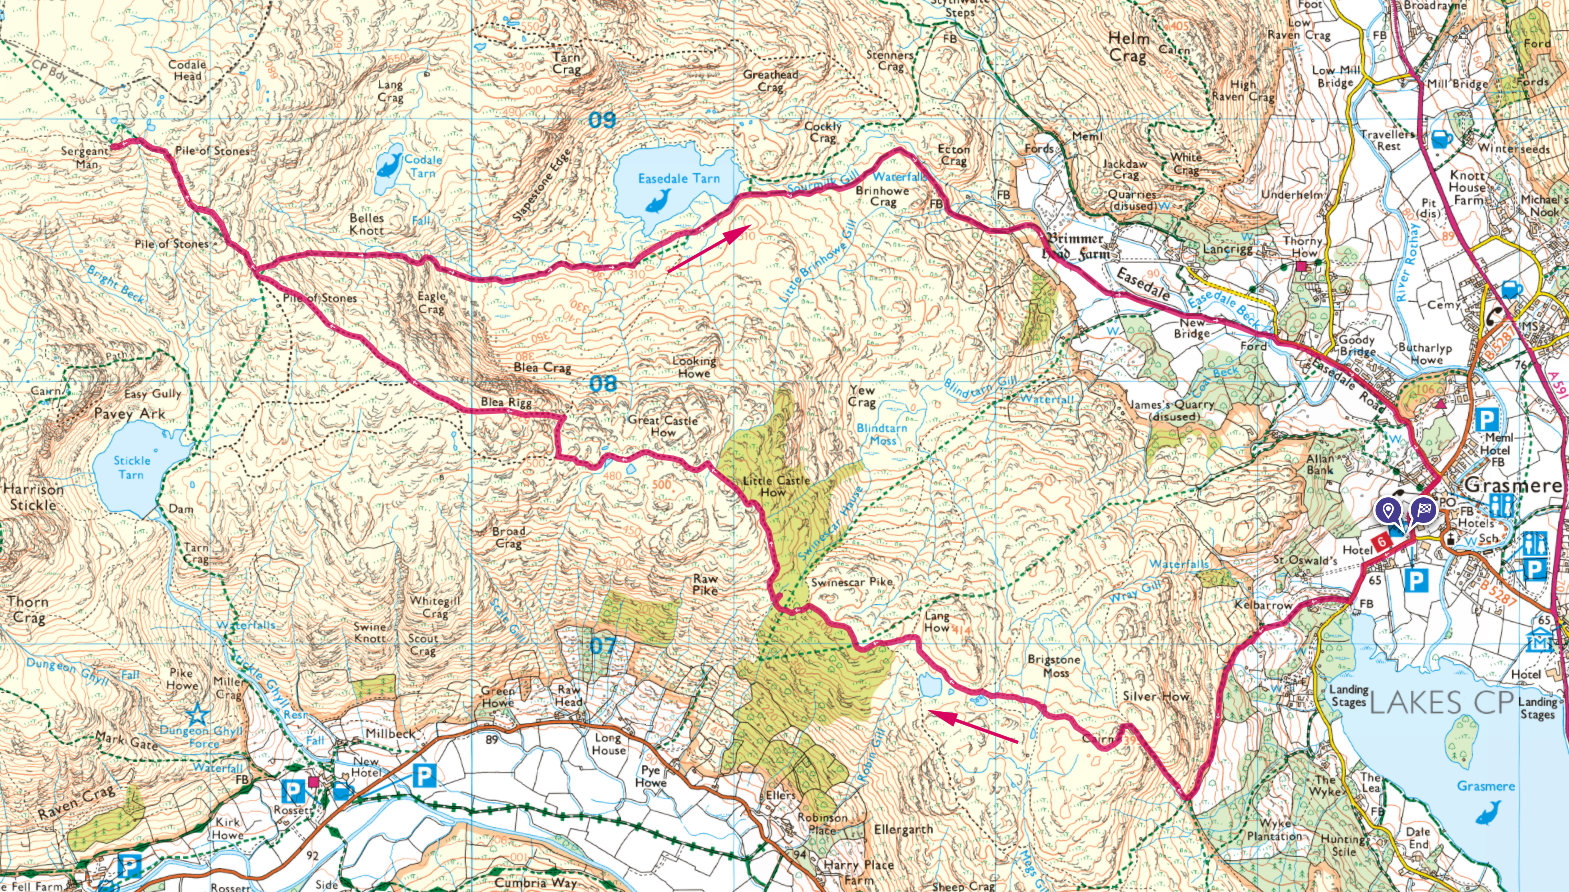
I arrived at Silver How around ten thirty, admired the lovely view down to Grasmere Lake and then headed of into the unknowable wilderness in the direction of Blea Rigg. This whole tract of land is hummocky with very few identifiable landmarks. I once became lost here in the early days of my Wainwright odyssey.

After around three kilometres of constantly checking to see if I was headed in the right direction, I arrived at Blea Rigg, relieved. From here on, the route was fairly obvious. Blea Rigg was set up as a check-in point for the weekend and while I was there, a group of runners arrived, presumably on the same round as the runners we’d met on Saturday.
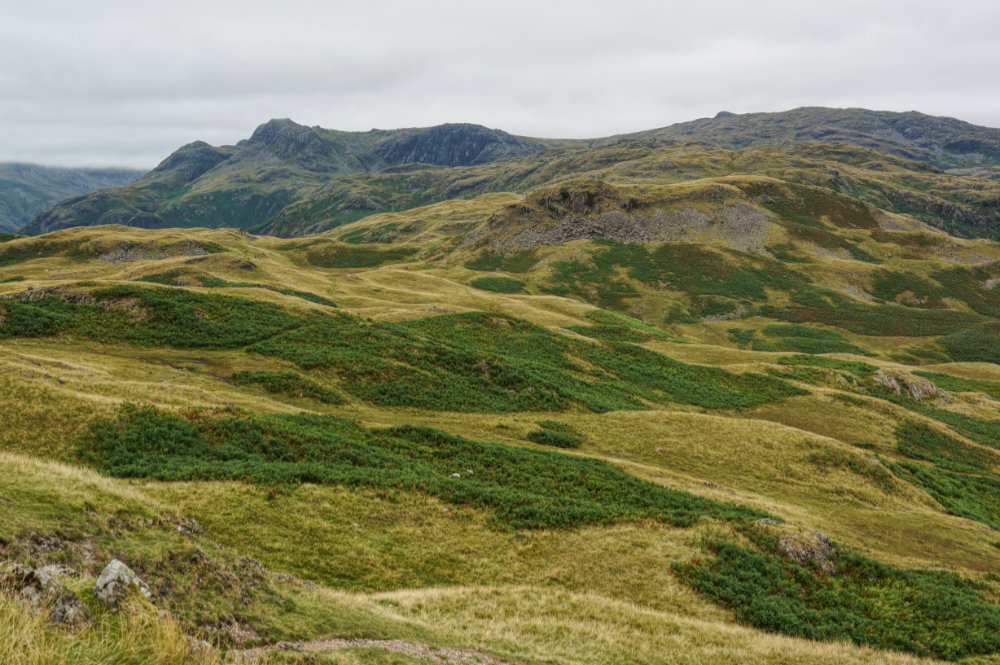
From Blea Rigg I marched up the broad ridge to Sergeant Man. This part of the walk is all about tarns, with Easedale Tarn, Codale Tarn and Stickle Tarn all in view. It’s a rather lovely section to walk. There are also great views east to the Helvellyn range, topped by cloud today, and views west to the Langdale Pikes.
I arrived at Sergeant Man at one thirty and ate some lunch. It wasn’t really warm enough to enjoy an extended stay, so once I’d had my fill, I retreated back the way I’d come, looking for the left-hand turn down into Easedale.
I remembered trying to find the route in thick mist when Tilly and I first visited Sergeant Man. I completely failed to find the route, and we ended up returning to Grasmere via Far Easedale. I can’t now understand how we missed our way but I’m pretty sure that in the thick mist, I must have panicked a bit and just took the most obvious but significantly longer route.
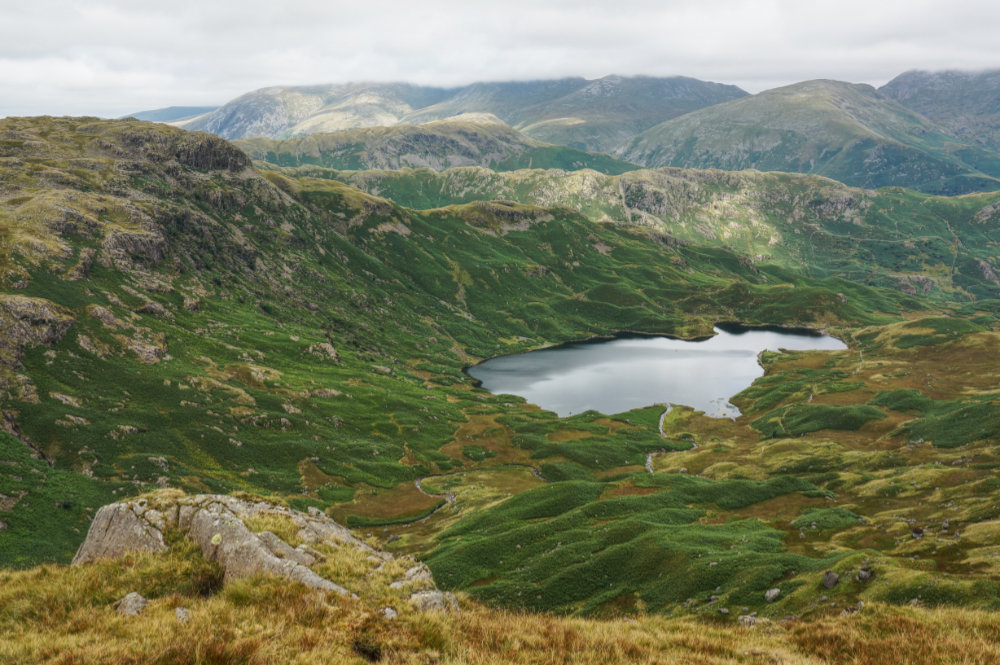
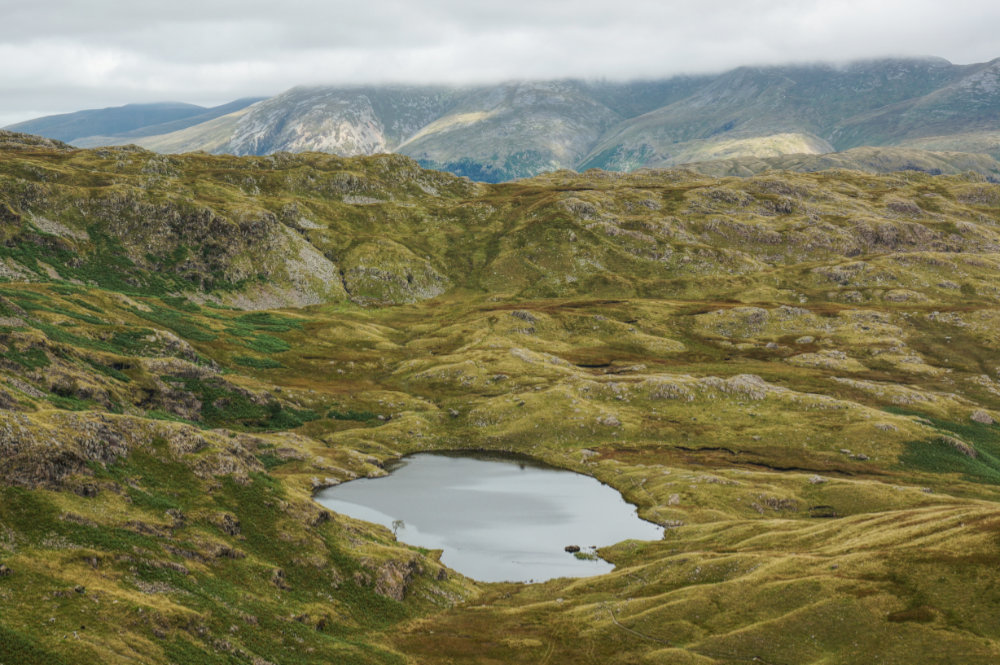
On my return I took the opportunity to visit my favourite tarn. There was no sun, but Codale Tarn was looking as beautiful as ever. There was no one else around so I had the pleasure of Codale all to myself.
I returned via the usual route, dropping down under Belles Knott to Easedale Tarn and then taking the tourist route back to Grasmere.
I got back to the car around four thirty and began the long drive home. It had been an eventful week, I’d learned a few things about myself, there had been a few excellent walks, and I’d enjoyed driving a small, nippy car for a change.
So I’d completed a second round of the Eastern Fells and had made a good start on the Central Fells. It looked very much as though I was fully committed to a second round of the Wainwrights. In truth, I was already planning my August trip. I just needed to take things a little easier and give myself more time to enjoy the fells. I no longer had anything to prove.∗
24th August 2021
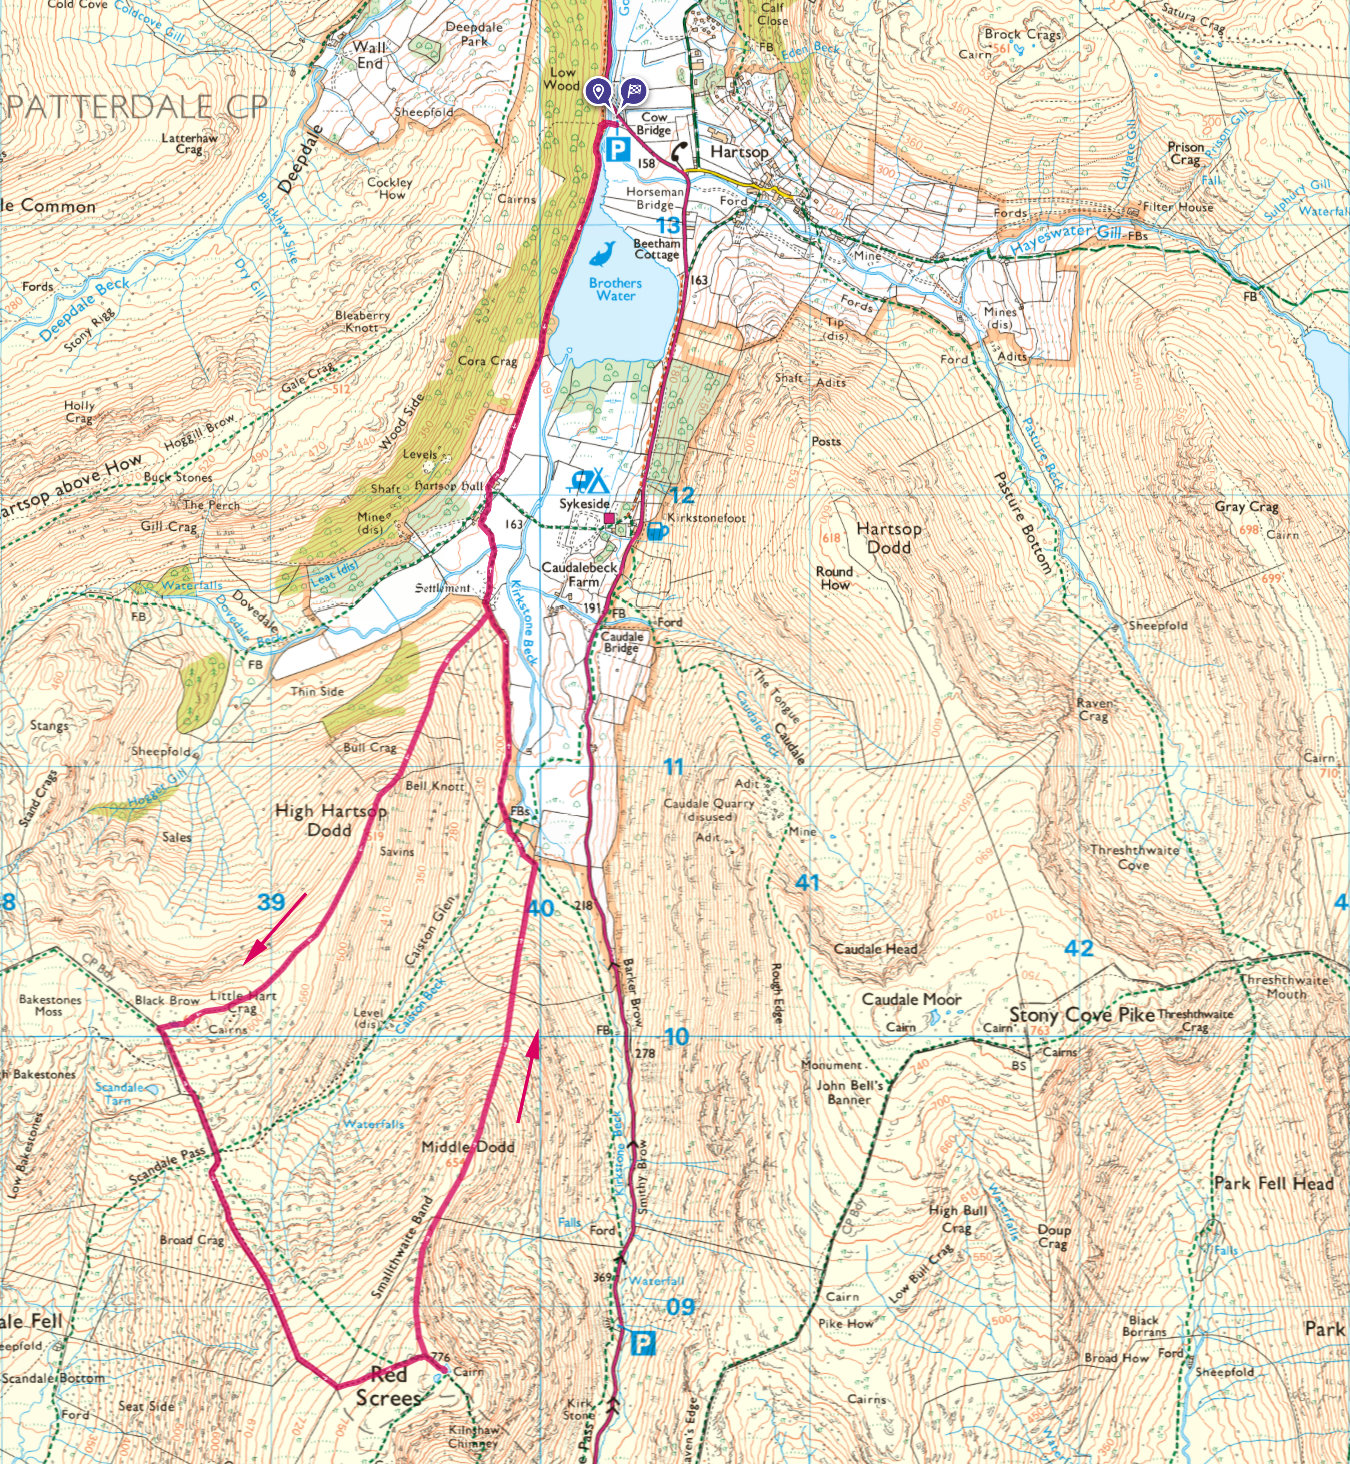
Caiston Glen Round
High Hartsop Dodd
Little Hart Crag
Red Screes
Middle Dodd
25th August 2021
Loughrigg
26th August 2021
Eagle Crag
Sergeant’s Crag
High Rise
Ullscarf
27th August 2021
A Riggindale Round
High Street
The Knott
Rampsgill Head
High Rise
Kidsty Pike
28th August 2021
Helm Crag
Gibson Knott
Calf Crag
Steel Fell
29th August 2021
Holme Fell
30th August 2021
Three Tarns
Silver How
Blea Rigg
Sergeant Man
Tagged: Lake District, Wainwrights, walking